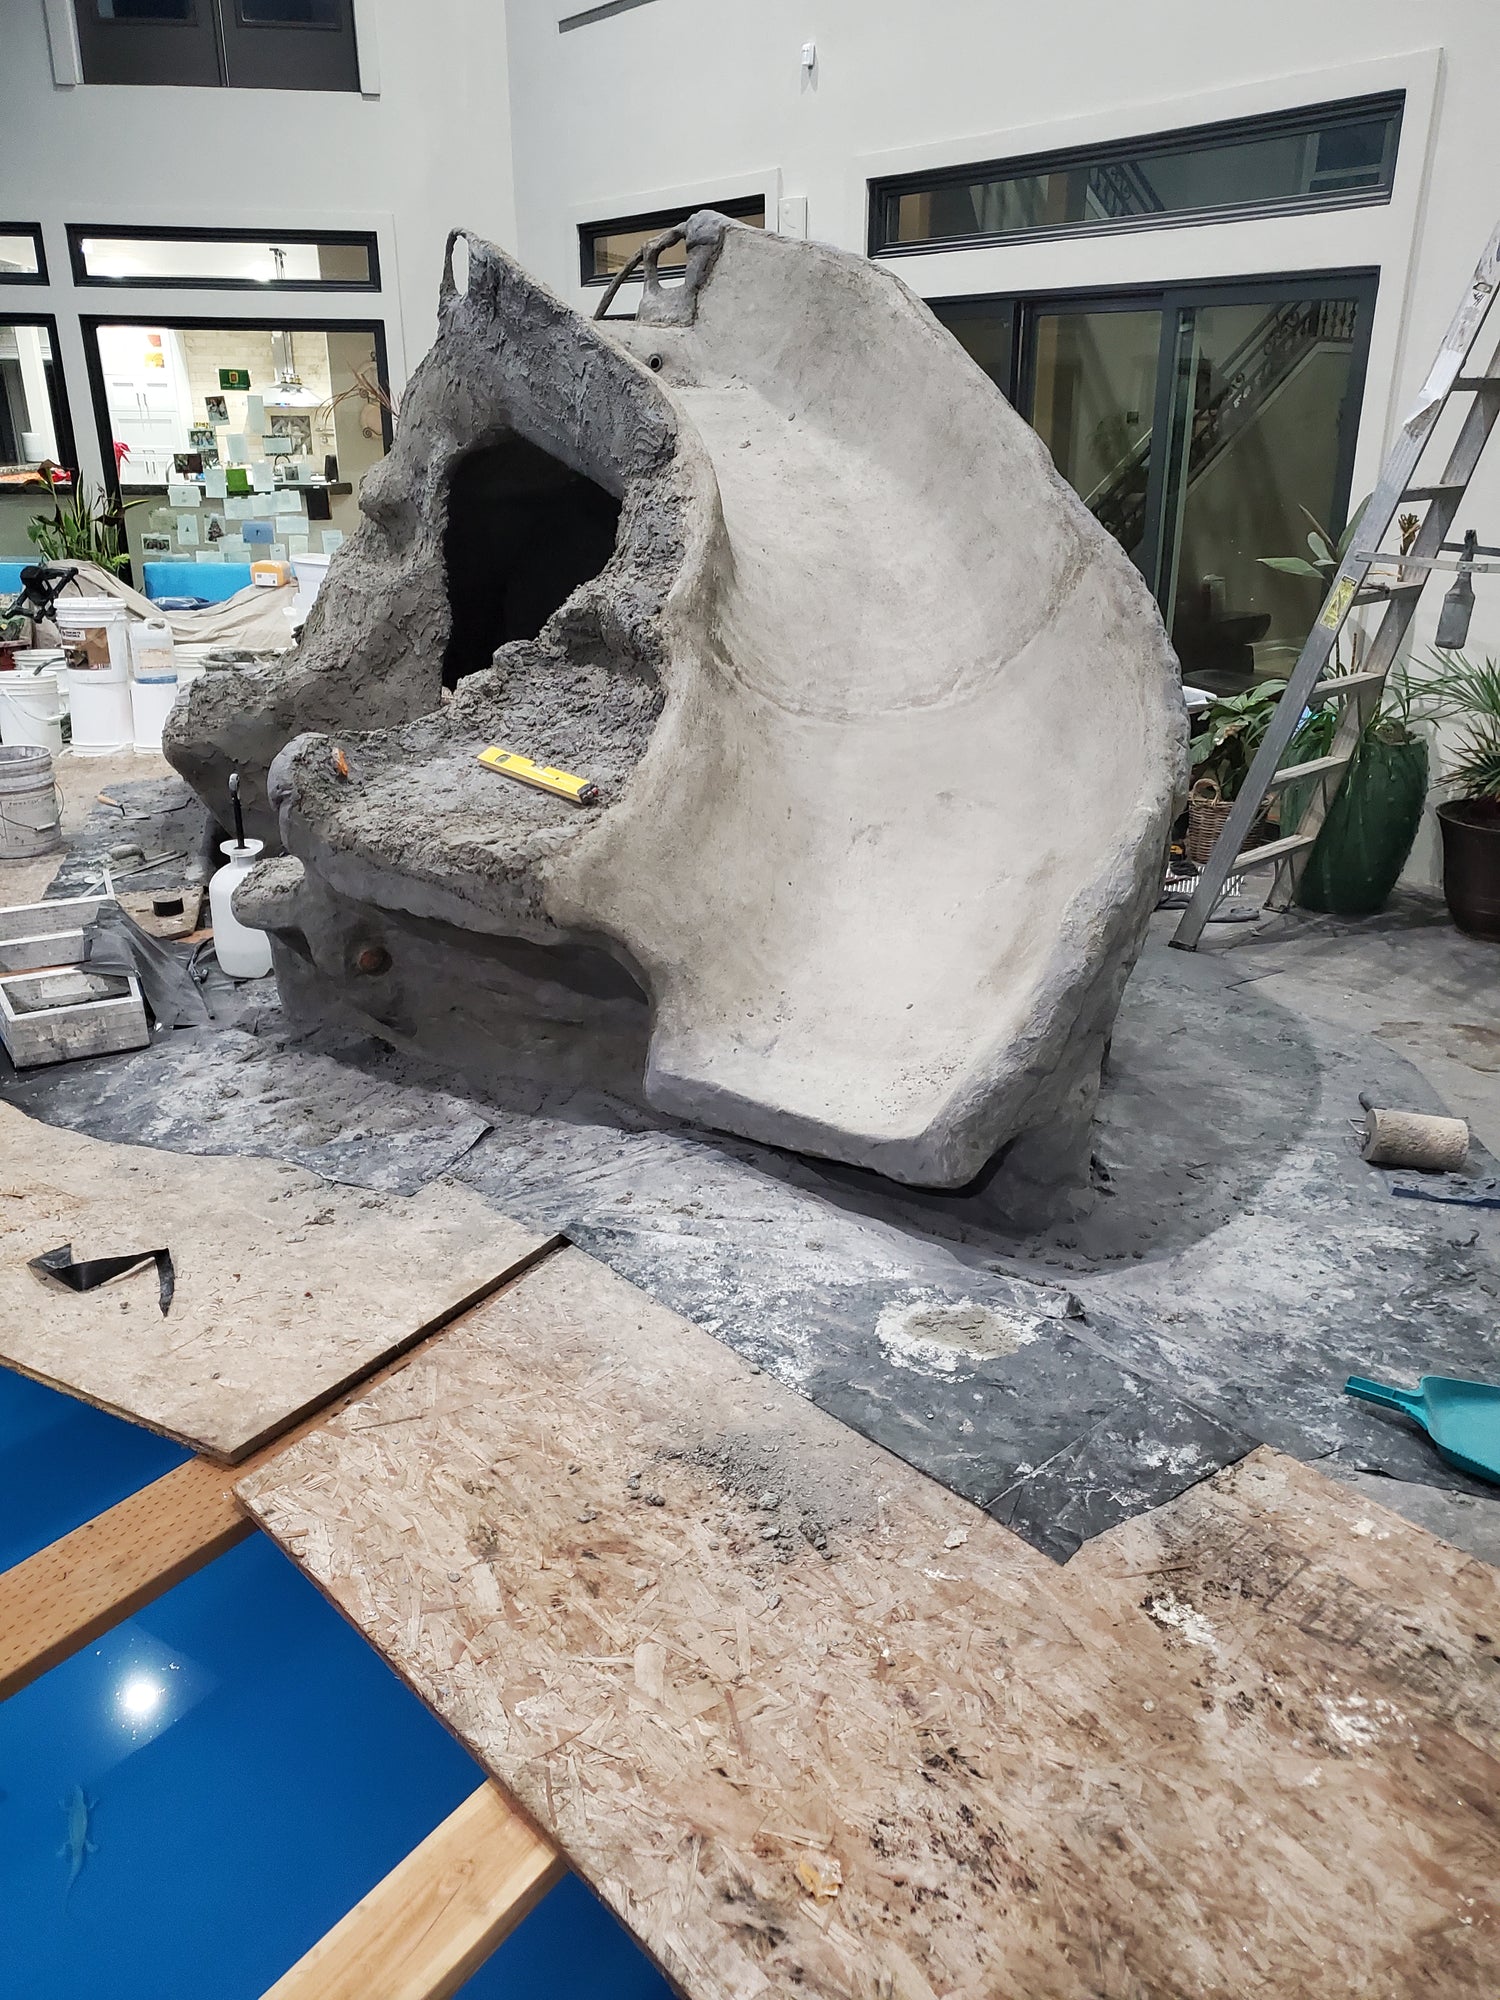
This project is one that took a little time, but was spread out over a few months- just working on it periodically. Using high amounts of chopped fiberglass (GFRC) in the concrete / mortar mix, a strong structure was created to the general pool slide shape. Plumbing was pre-ran and hidden to include water for the slide and a few waterfalls. The next phase was to use a carving concrete mix to build some mass onto the structure, as well as texture and tool it into looking like stone. Total project cost was around $1,000 and involved about 80-100 total hours of work (for one person). So let's get started with some of the steps!
REBAR: Drill some holes into the existing concrete pool deck, insert rebar, bend into general shape.


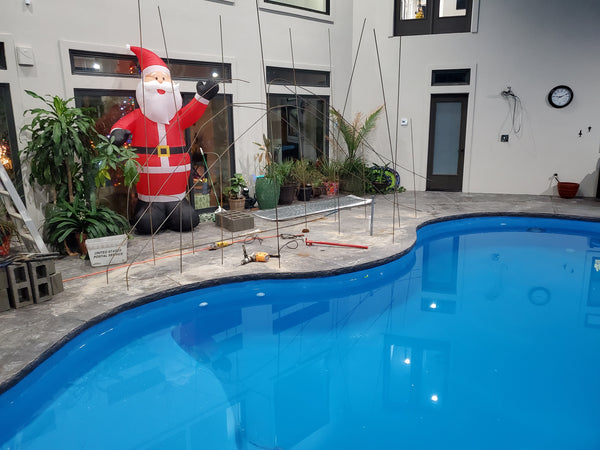
LATHE: With the general shape in rebar formed, metal lathe was wire tied onto the frame.


STRUCTURE: Cement Structure Coat- This step is often sprayed on with a mortal sprayer, but we applied by hand. Structure Coat is basically a GFRC Backer Coat mix- sand / cement / polymer / plasticizer / and a lot of chopped fiberglass.


PLUMBING: Ran plumbing and lights to the pool slide and waterfalls, and continued building up the base / Structure Coat. Using Gate Valves on plumbing is a great way to easily adjust the flow of each pipe when all is done and able to test flows. To maximize space we created the underside of the slide into a cave (great place for storage of pool toys).


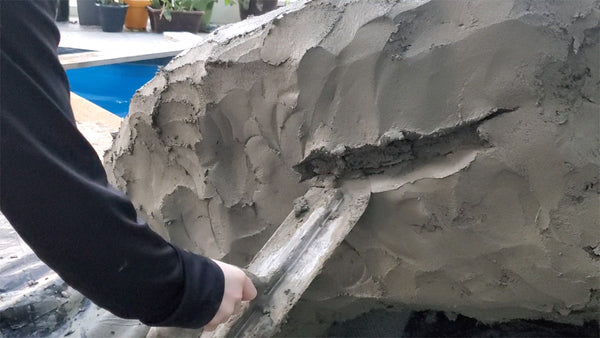
CARVING: Using a Carving Concrete mix to build up thickness and add texture and features. Carving Concrete is a special mix that allows for multiple inches of concrete to be stuck to vertical and ceiling surfaces, and stay workable for hours in order to shape and 'carve' it to look like stone/wood/etc. Using trowels, texture mats, and rollers it's pretty easy to do, but definitely looks better the more practice you have.


TESTING: One hard part about making a concrete slide, is that it hurts to test! So a lot of work has to be done using guessing. Once this slide was done enough to test, we did just that with some water and a plastic sheet to help slide. Verified that the slide worked as intended, we could then move on to the final touches.

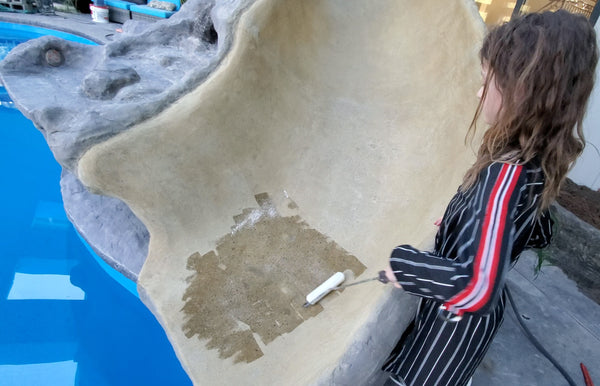
STAINING & SEALING: Using water based stains in a few different colors, the concrete was stained and then sealed. The Slide portion was sealed with an Aliphatic Urethane to ensure smooth, slippery operation and a really long lasting coating. The rest of the feature was sealed using a Solvent Based Acrylic outdoor sealer to protect the concrete and stain, enhance the colors, and not create a slippery surface. 