

Concrete Column Mold - Mailbox - Fence Post - Gate
Size:
Size
Quantity:
Ships from Illinois (Click for average Ground delivery map
 )
)
Shipping: This Product can take 5 to 10 business days to ship out.
 Ships via FedEx/UPS only
Concrete Column Mold - Mailbox - Fence Post - Gate
- Create your own concrete column from Stacked Stone.
- Available in 24" High, 32" High, and 56" High liner molds
- Each column will be @ 23" x 23" wide.
-
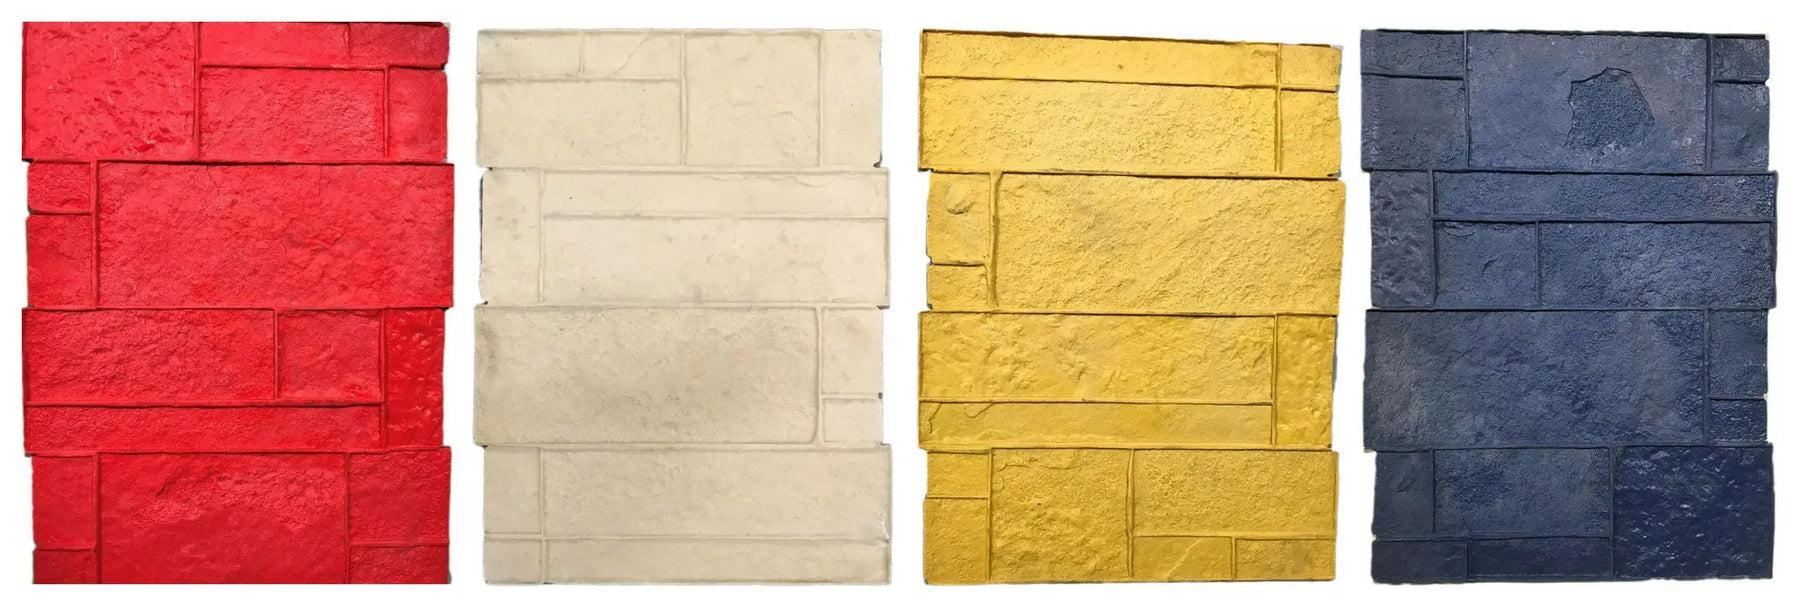
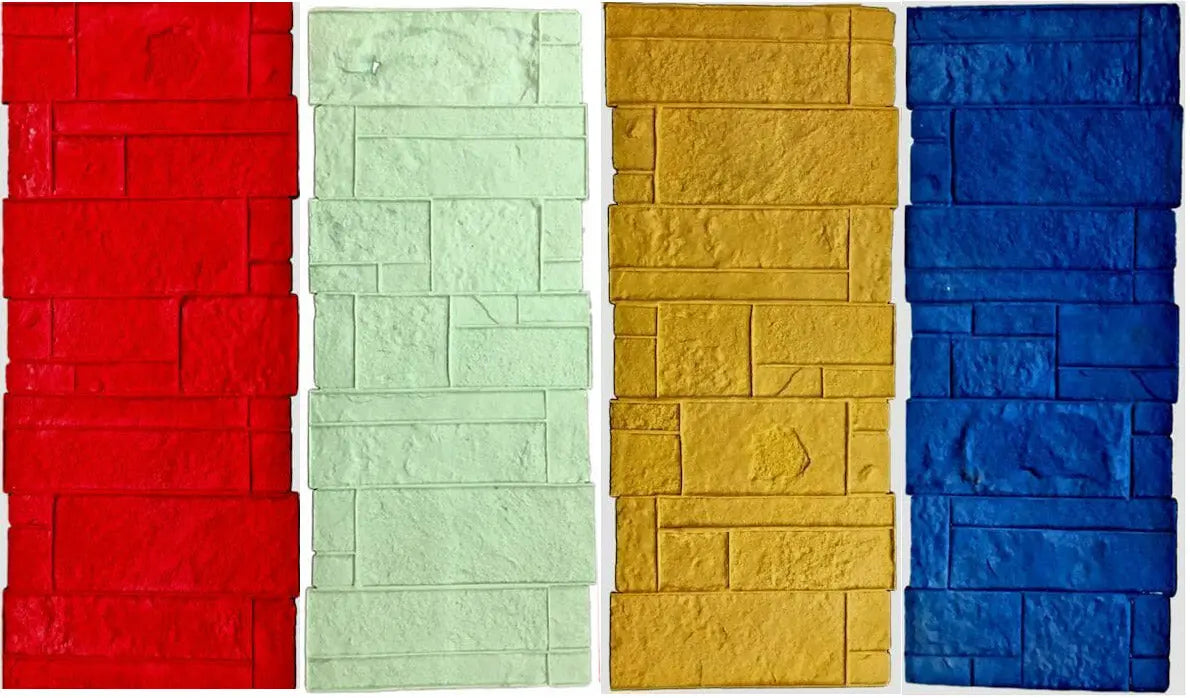
Each mold set includes 4 different liner panels, so no side is the same.
-
Used for mailbox posts (you create the void for the mailbox (mailbox not included), or many other uses such as fence post columns (you will need to modify the forms to create a 'slot' for the fence panels to slide into), and other uses such as decorative posts, seatwall terminations, driveway entrances, lighting fixtures, fire feature fixtures, table bases, and more. Stacked Stone design matches well to our other wall/vertical stamp sets (sold here) and flatwork ground stamp patterns (sold here)
- Our column liner molds are designed specifically to interlock for natural corners with minimal touch up. The results are near perfect columns hard to distinguish from real stone. The polyurethane panels can be easily attached to a box frame (not included, you make from Plywood, etc.) and will last for countless pours. Caps can be made from an optional matching mold or framed up to your needs. Natural stone caps are always an option.
- Columns can be filled solid or you can save weight and concrete by filling the middle with a concrete tube or foam blocks.
- Use of a form release (sold here) is highly recommended before each casting.
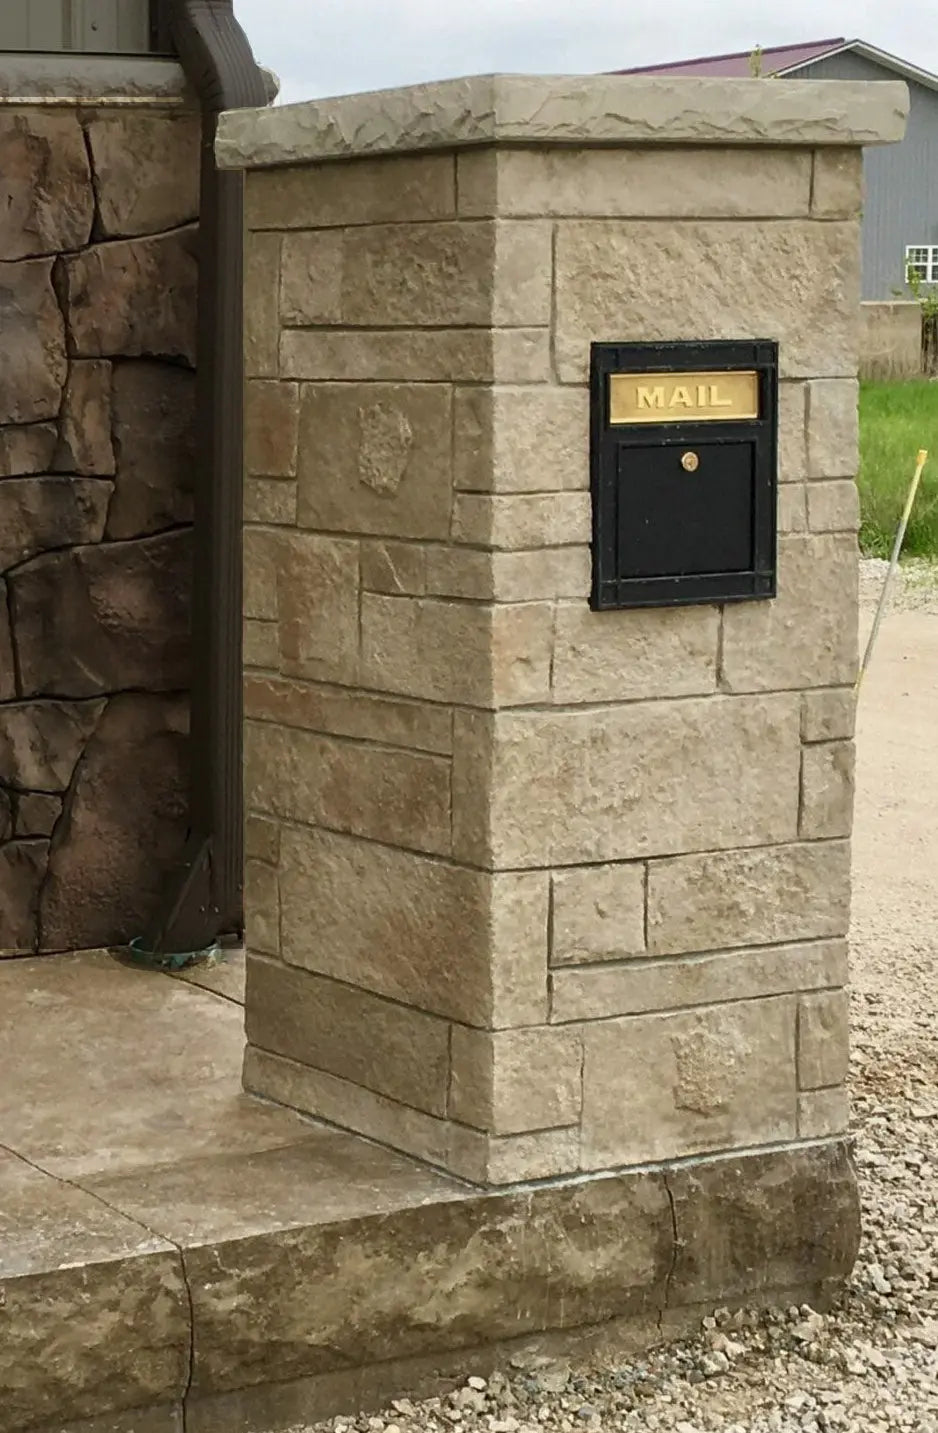
- **Mailbox shown in product image was made from the 56" High version of the column mold. When doing a mailbox, you will want to use either a sonotube or foam core for the center of the column, and the area where the mailbox will go. Please ensure you follow USPS regulation for the bottom of the mailbox to be at @ 41" to 45" from the ground. A rough opening is easily cut in the finished column with a concrete saw and if you used a foam core you can then hollow out the foam deep enough to accept the mailbox.
- NOTE: For proper finished look and corners to show properly, liners are to be arranged in the form in a specific arrangement. Panel 1 Red-Panel 2 Green/Tan-Panel 3 Yellow-Panel 4 Blue. This can be seen as you pre arrange on the floor before assembly. (This is not necessarily shown in the order in the example video above)


