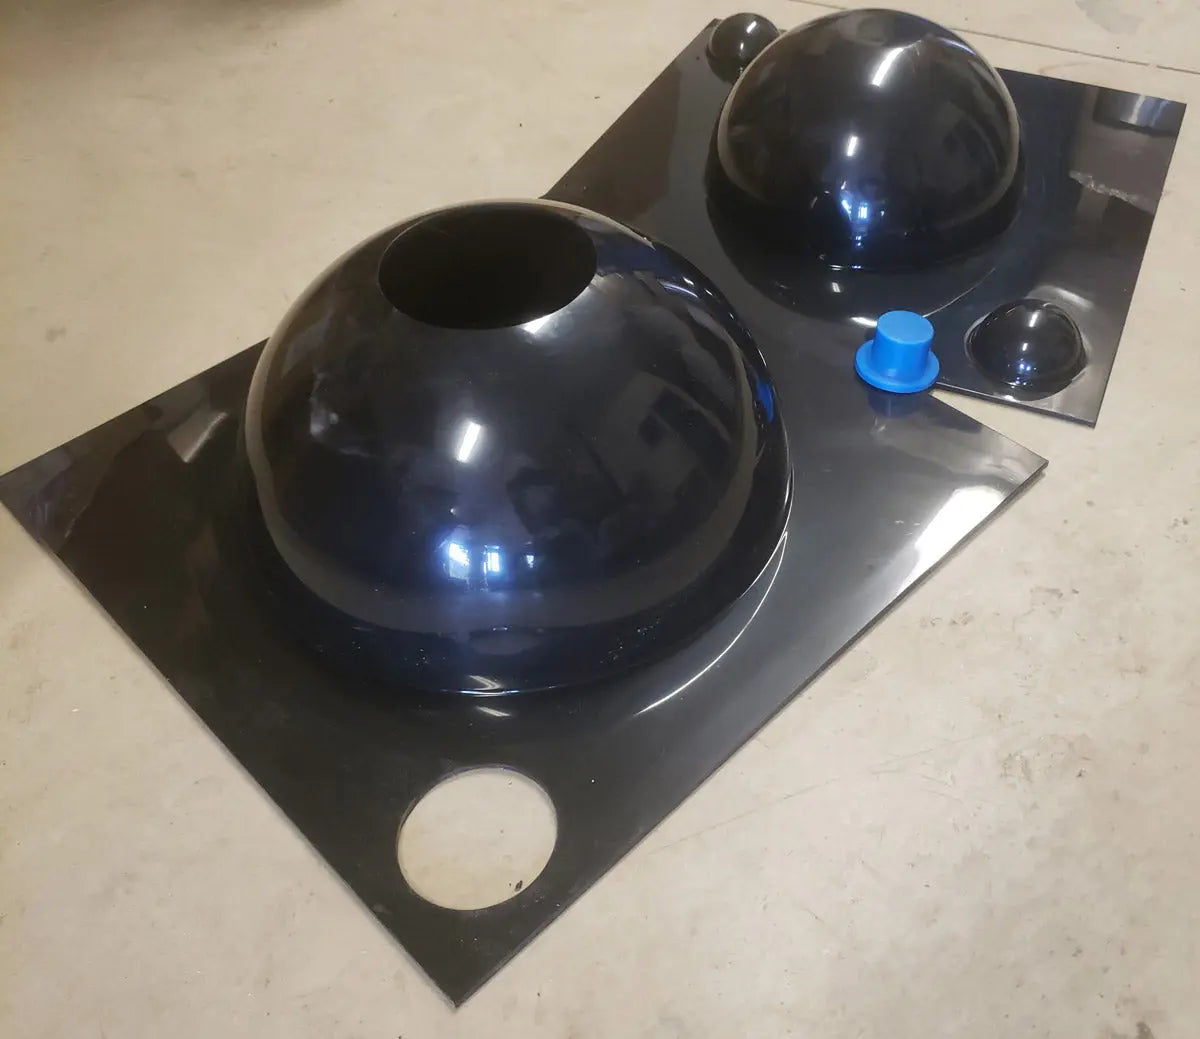
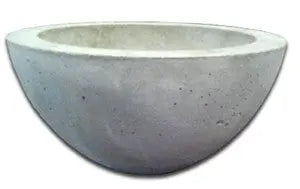
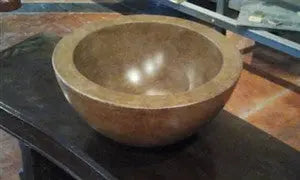

Concrete Vessel ABS Sink Mold DPM-10 Bowl (14"x6.5")
Quantity:
Fast Ship: Usually takes 1-2 business days to ship out.
Concrete Vessel ABS Sink Mold DPM-10 Bowl (14"x6.5")
- Finished Concrete Sink:
- 14" across, 6-1/2" deep (inside sink is @ 11" across), concrete thickness 1-1/4".
- Requires approx 0.15 cubic feet of concrete to make (finished sink will weigh around 20lbs)
- Please Note: The molds may have minor imperfections present still. As we continue to make more of these molds, we will iron out small details in the master molds, and the parts will continue to improve. To use these molds, a few coats of Mold Release Wax should be put on the molds before use, and wax sticks better if you lightly sand the mold first, which will remove any imperfections. You can lightly sand with 200 grit sandpaper by hand, which will prep the mold for wax as well as sand out any imperfections in the mold (the Outer Mold should be the only side with any real imperfections, which usually won't show in the final concrete sink anyway, but a little sanding will create a better casting). The Inner Mold can be rubbed down with a Scotch-Brite pad, and then wax the molds.
Concrete Vessel ABS Sink Mold DPM-10 Bowl (14"x6.5")
- Finally it's here! Our new DPM-10 Vessel Bowl Molds creates a round bowl vessel sink (This new model of mold replaces our old SDP-48 Fiberglass 14" Vessel Bowl molds)
- Expressions-LTD DPM (Durable Polymer Molds) molds are made of thick, industrial grade smooth Virgin ABS plastic, with excellent anti-stick properties and longevity for years of repeated use.
- Concrete Vessel Bowls can be used for Sinks, Firepits, Decorative Bowls, Fountains, Rainchain/rain gutter basins, etc.
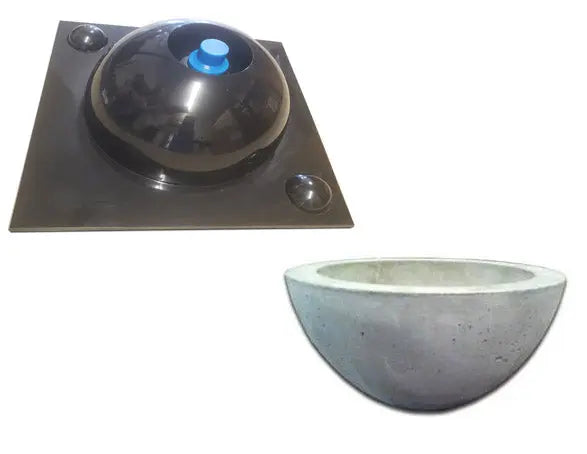
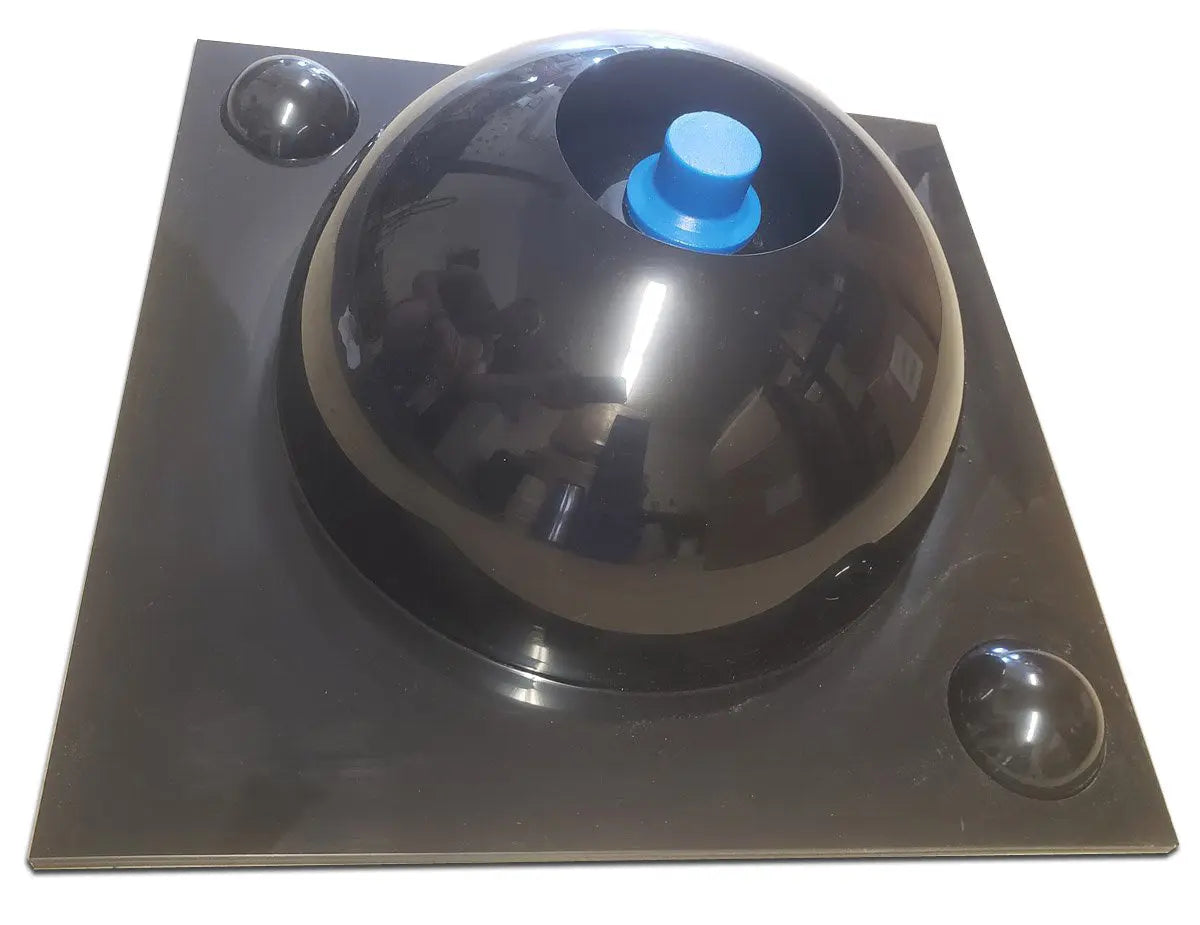
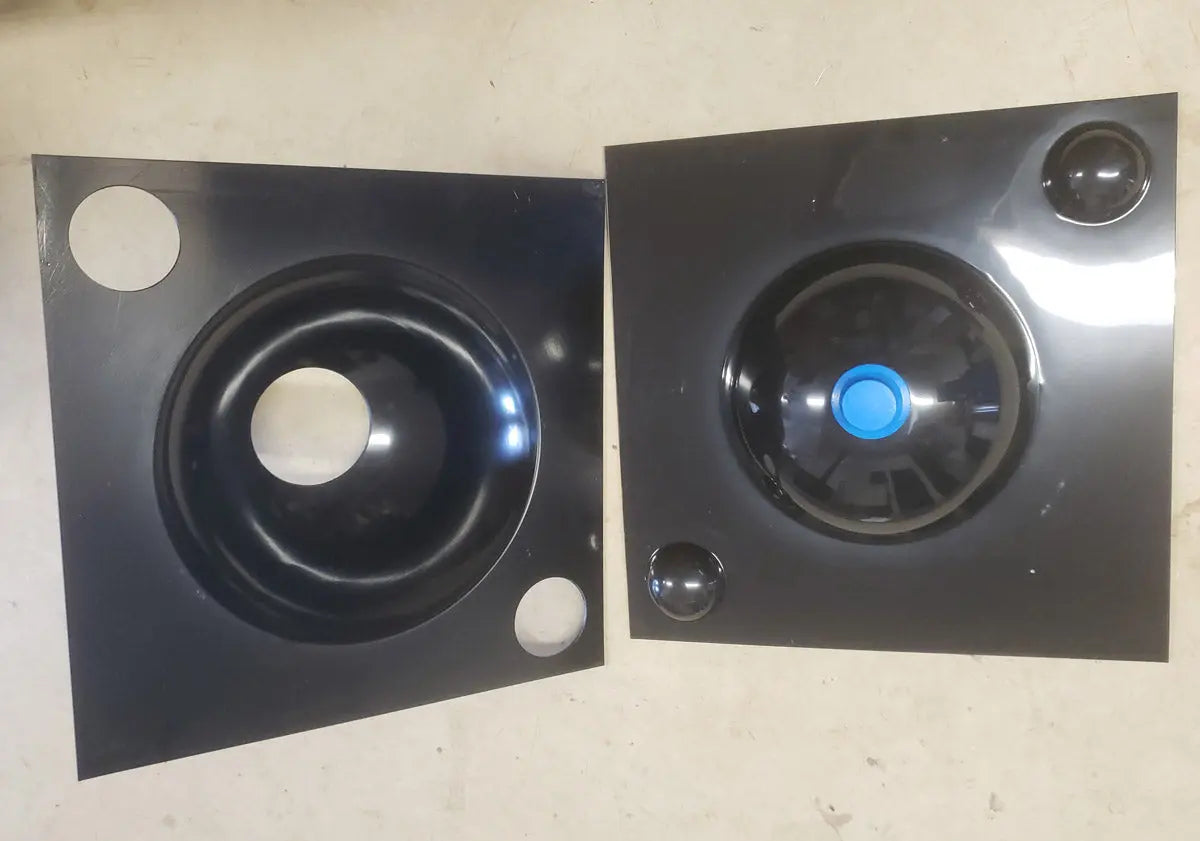
- The DPM-10 Vessel 14" Bowl is a two part mold- Includes the Inner Bowl Mold and Outer Vessel Bowl Shell Mold.
- Alignment bumps are built into the molds, so there is no guesswork or time wasted aligning the molds. Simple place together and clamp or screw the molds together, and use.
- Mold includes a rubber Drain Flange mold piece to use for a bathroom lavatory sized drain hole.
- Please note: Expressions LTD will not be held liable for any damage, misuse, or collateral damages resulting from use of any of our products.
Mold Setup:
- If you want a drain hole... Attach the included Rubber Drain Flange piece to the inner sink mold. (Some will use this mold to create a non-draining bowl for a variety of uses, such as fountains, so the drain hole is a separate rubber plug we include with the mold)
- There is a small flat spot on the top of the dome of the Inner Mold for this purpose. You may want to place the Outer Mold over the Inner Mold when doing this, to aid in measuring so that the rubber piece is centered correctly. Usually just a little silicone is all you need to secure it. Allow silicone to dry a few hours before using the mold. (Some fabricators may wish to permanently secure this rubber piece to the mold using a screw through the rubber piece, into the ABS mold)
- The Drain part of the sink is not molded into the sink mold itself on purpose. The reason is to give you the option to create different types of drains if desired. You can make any custom kind of slits, holes, etc. in the concrete using a variety of molding material like foam, clay, etc. and then use our 3" Drain Pan and silicone it to the bottom of the sink to catch the water.
- Our ABS molds are designed to be very smooth, to aid in concrete releasing from it, and can be used as they are when you get them (still wax them as in the next step though). Over time and from use, the finish may become worn and marked. You can rub the surface of the mold with a Scotch Brite pad (green scrubbing cleaning pads) to evenly roughen the mold, which also has the benefit of making a better surface for the wax in the next step to stick to.
- Apply 3 or more coats of a Mold Release Wax to both Inner and Outer Molds, lightly buffing between coats once it hazes. (Many experienced fabricators prefer 5 coats of wax)
- Apply a THIN coating of Form Release to the Inner and Outer Molds.
- Place Molds together- the Alignment Bumps built into the Molds will make it so you can't do this wrong!
- Silicone is usually not needed on these molds, but you may wish to use it to prevent water from seeping out between the two Molds. If you do, just create a very small bead of silicone on the Outer Mold half. We have poured many of these sinks and water seepage is very minimal so we do not use silicone (an extra step removed, and demolding is easier without silicone holding things together). Silicone gasket making material (such as this on Amazon) works great for this, and if done right (very thin amount used and allowed to set up before putting the molds together) then the gasket is reusable and doesn't 'stick' the molds together)
- The Mold Halves can be clamped together, screwed together, or secured to a casting table.
- Watch videos of general Mold Setup, Casting, and De-Molding/Removal of concrete sinks and countertops on our Video Page.
Concrete Casting:
- Typically for concrete countertops, the concrete mix should be an oatmeal consistency. To fill a two part vessel mold, the thicker concrete may not flow easily, and will create a larger-than-normal amount of air pockets and voids. A slightly runnier consistency to the concrete will usually work better with filling a two-part vessel sink. A Sand Mix works best for vessel sink fabrication (no pea gravel in the concrete). More info on concrete mix recipes under our RESOURCES section at the top.
- Vibrating the concrete either with a specialized vibrator or vibrating table is recommended. Fast, light tapping on the Outer Mold with a rubber mallet, or running a sawsall tool against the outer mold (without a saw blade, duh!) while filling the Molds with concrete will help remove many air pockets.
- If a drier concrete mix is used, it will create larger voids which can be the desired effect- usually when planning to fill the voids with cement slurry of a different coloring.
- Any voids in the finished concrete can be filled using a Cement Slurry.
- Mix your own slurry by mixing Portland cement, Cenospheres, and water (or water/Polymer mix).
Mold Removal:
- If the steps above were followed for the Mold Setup, then most Molds will usually pull out of the concrete with little effort.
- Do not pry or wedge things between the concrete and the mold. Doing so will most likely damage the mold, the concrete, or both.
- If the mold is difficult to remove, try:
- Compressed air shot around the Mold rim will break the suction holding the Mold in the concrete.
- Adding cold water and ice to the inside of the mold for 10 minutes will shrink the mold just enough that removal is easier.
- Wiggling the mold.
- Taking a break, come back to it a few hours later and try again.
Clean-up and Care of The Concrete Vessel ABS Sink Mold DPM-10 Bowl (14"x6.5")
- Clean Mold with a sponge after each use. Any dried cement residue can be removed with a scotch-brite pad (as outlined above in the Mold Setup section. A light muriatic acid wash (20:1, 20 parts water to 1 part muriatic acid) can also remove cement scale if absolutely required.
- Waxing and buffing the Mold after cleaning it use is recommended to protect the Mold until its next use.


