





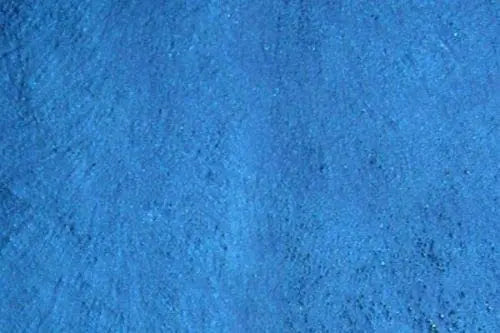


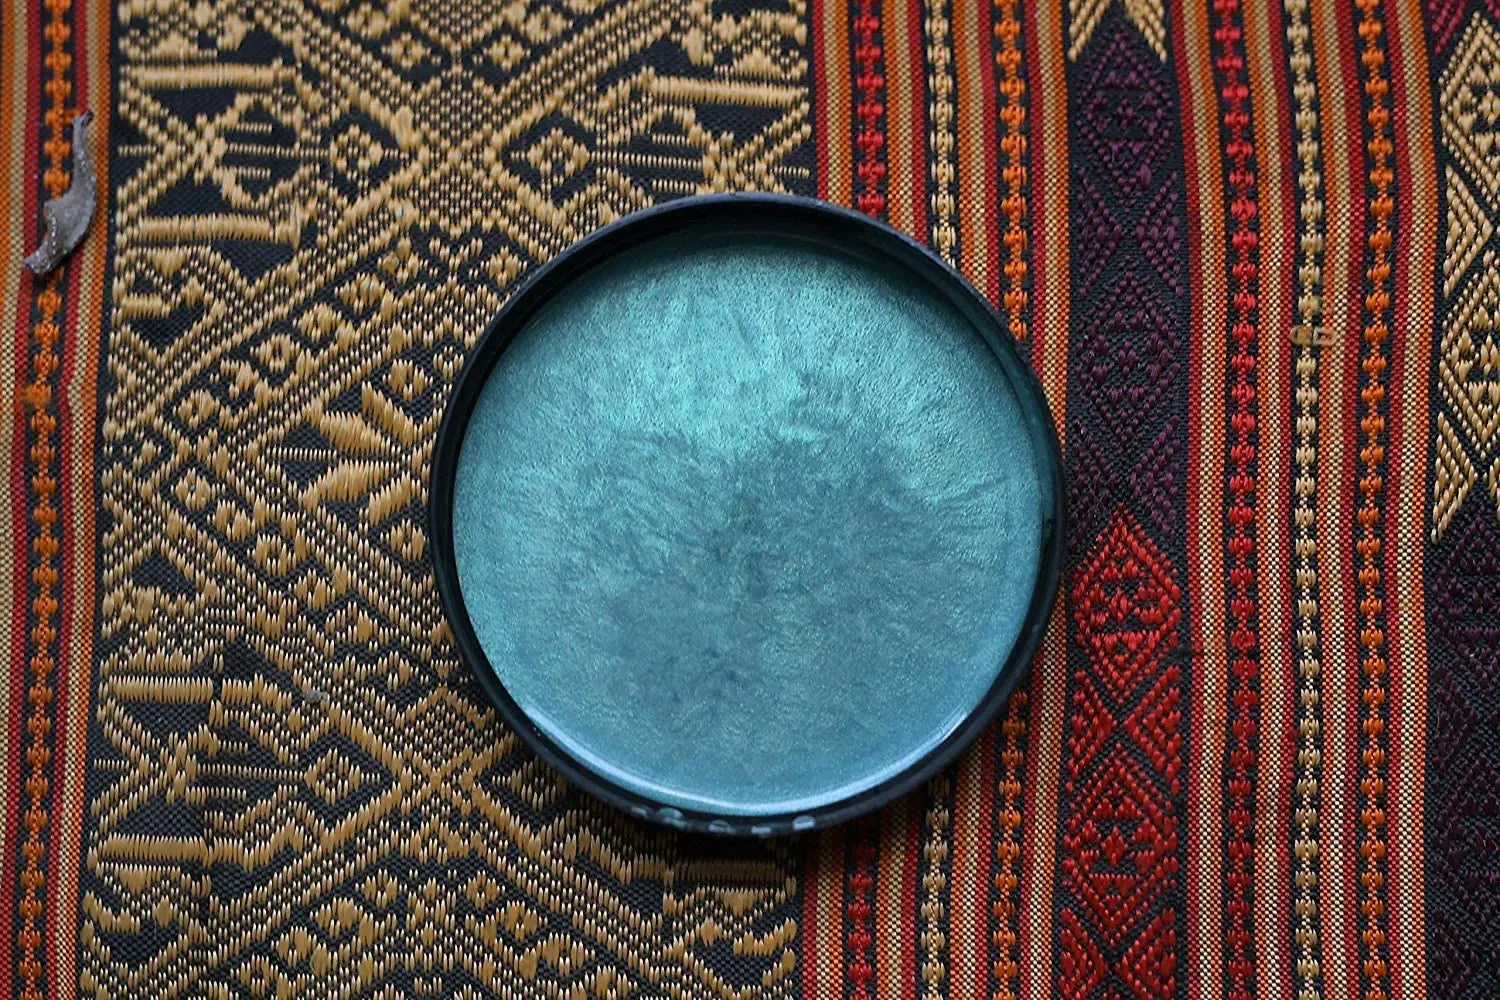
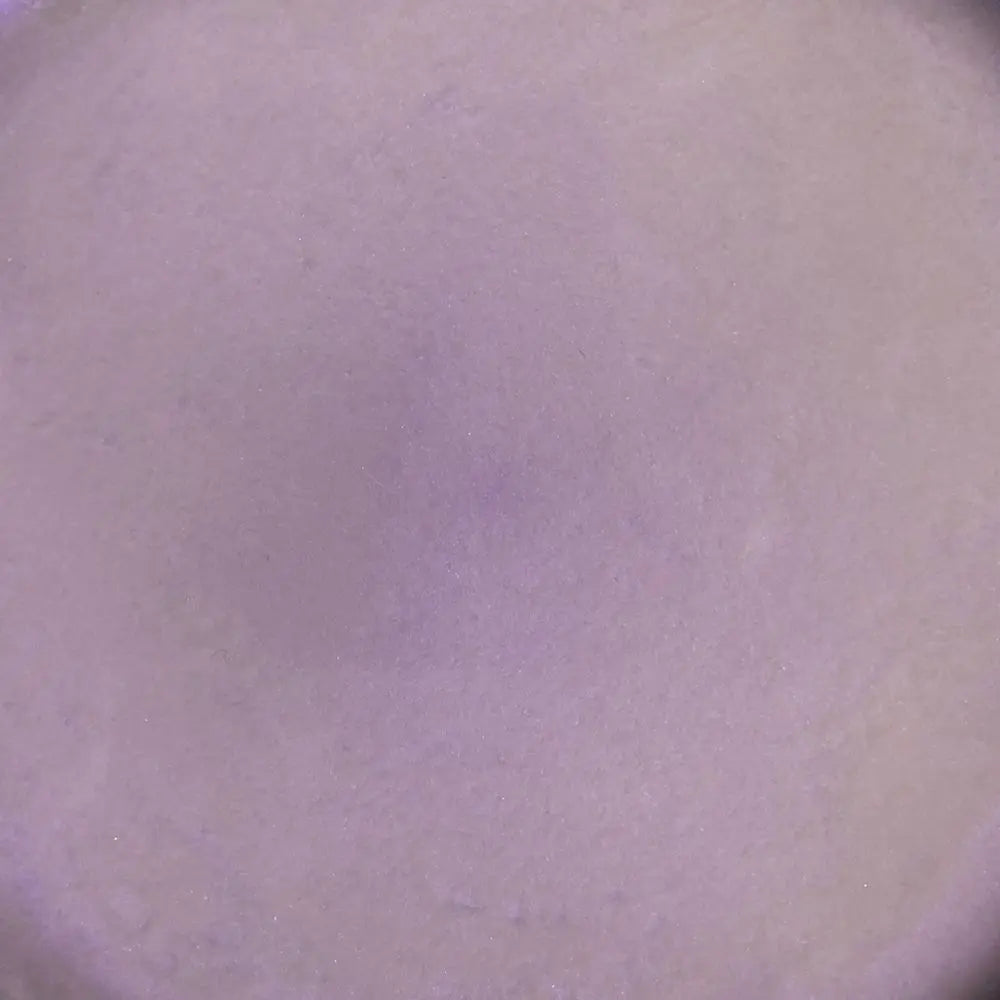
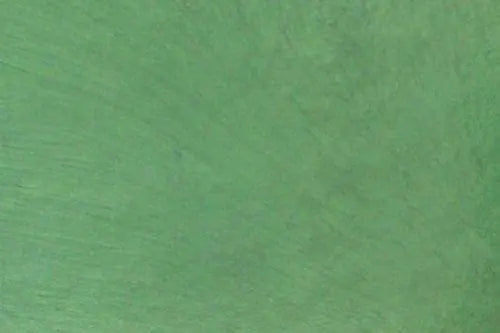

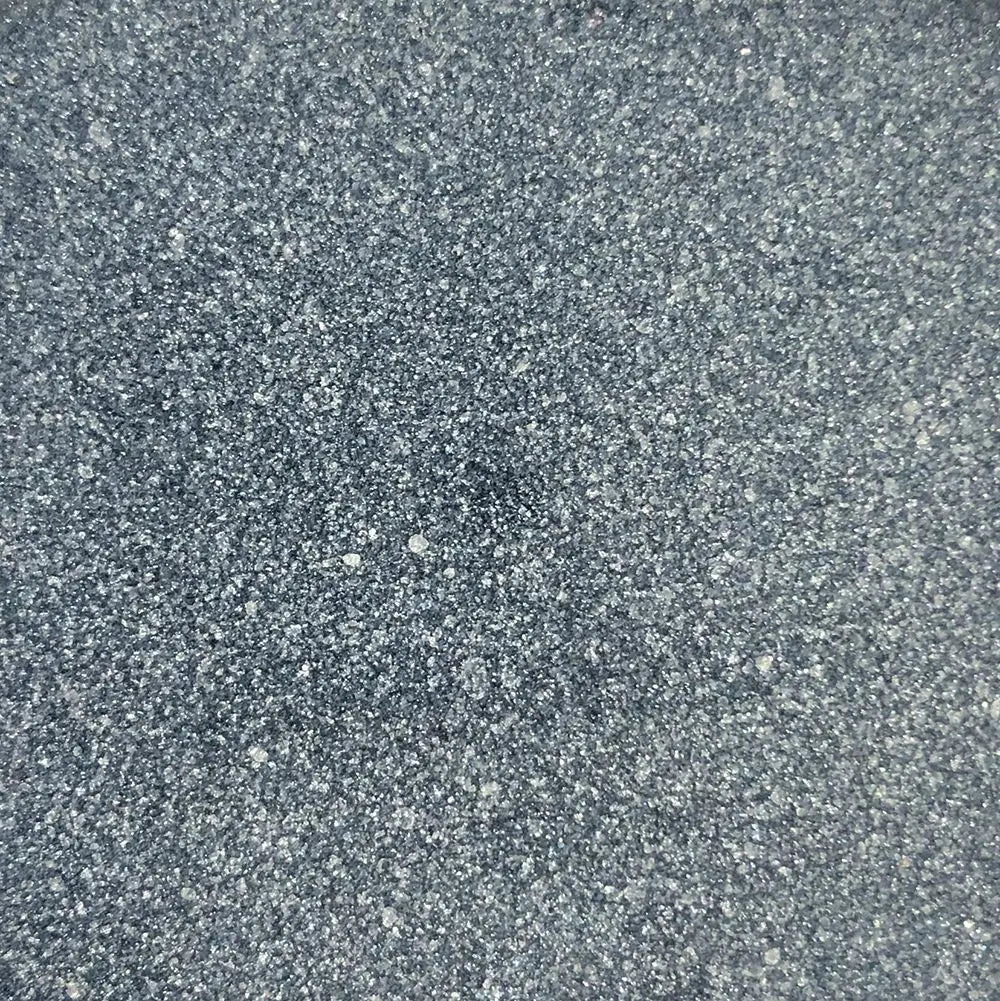
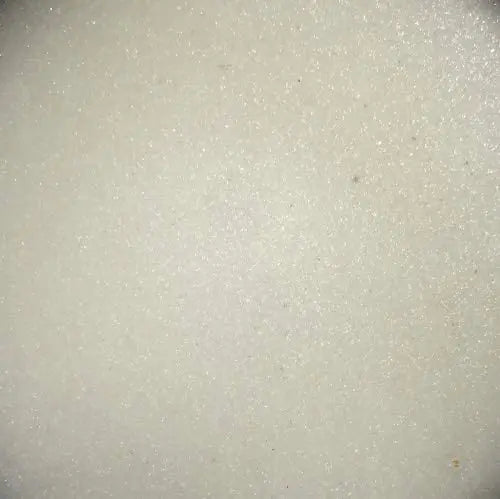
Epoxy 3D Metallic Tru Lustre FX Powder Pigment
Ships from Illinois (Click for average Ground delivery map
 )
)
 Ships via FedEx/UPS only
3D Metallics for Epoxy & Resin Coatings
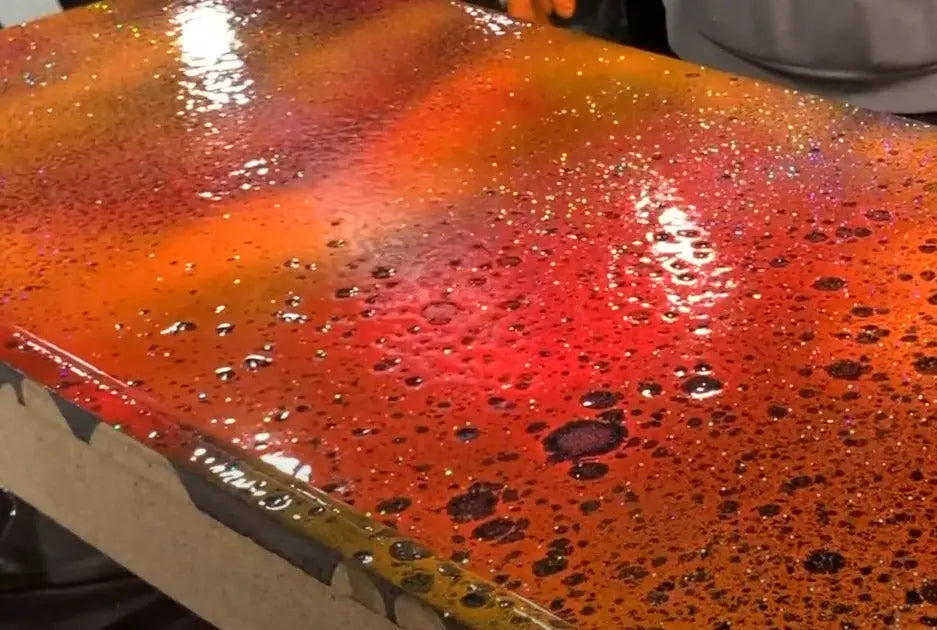
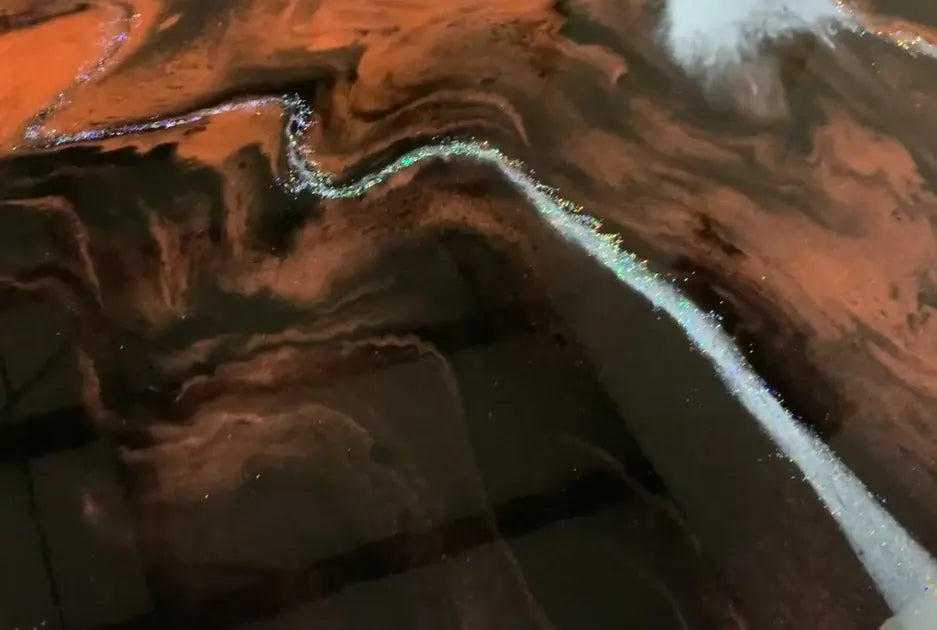
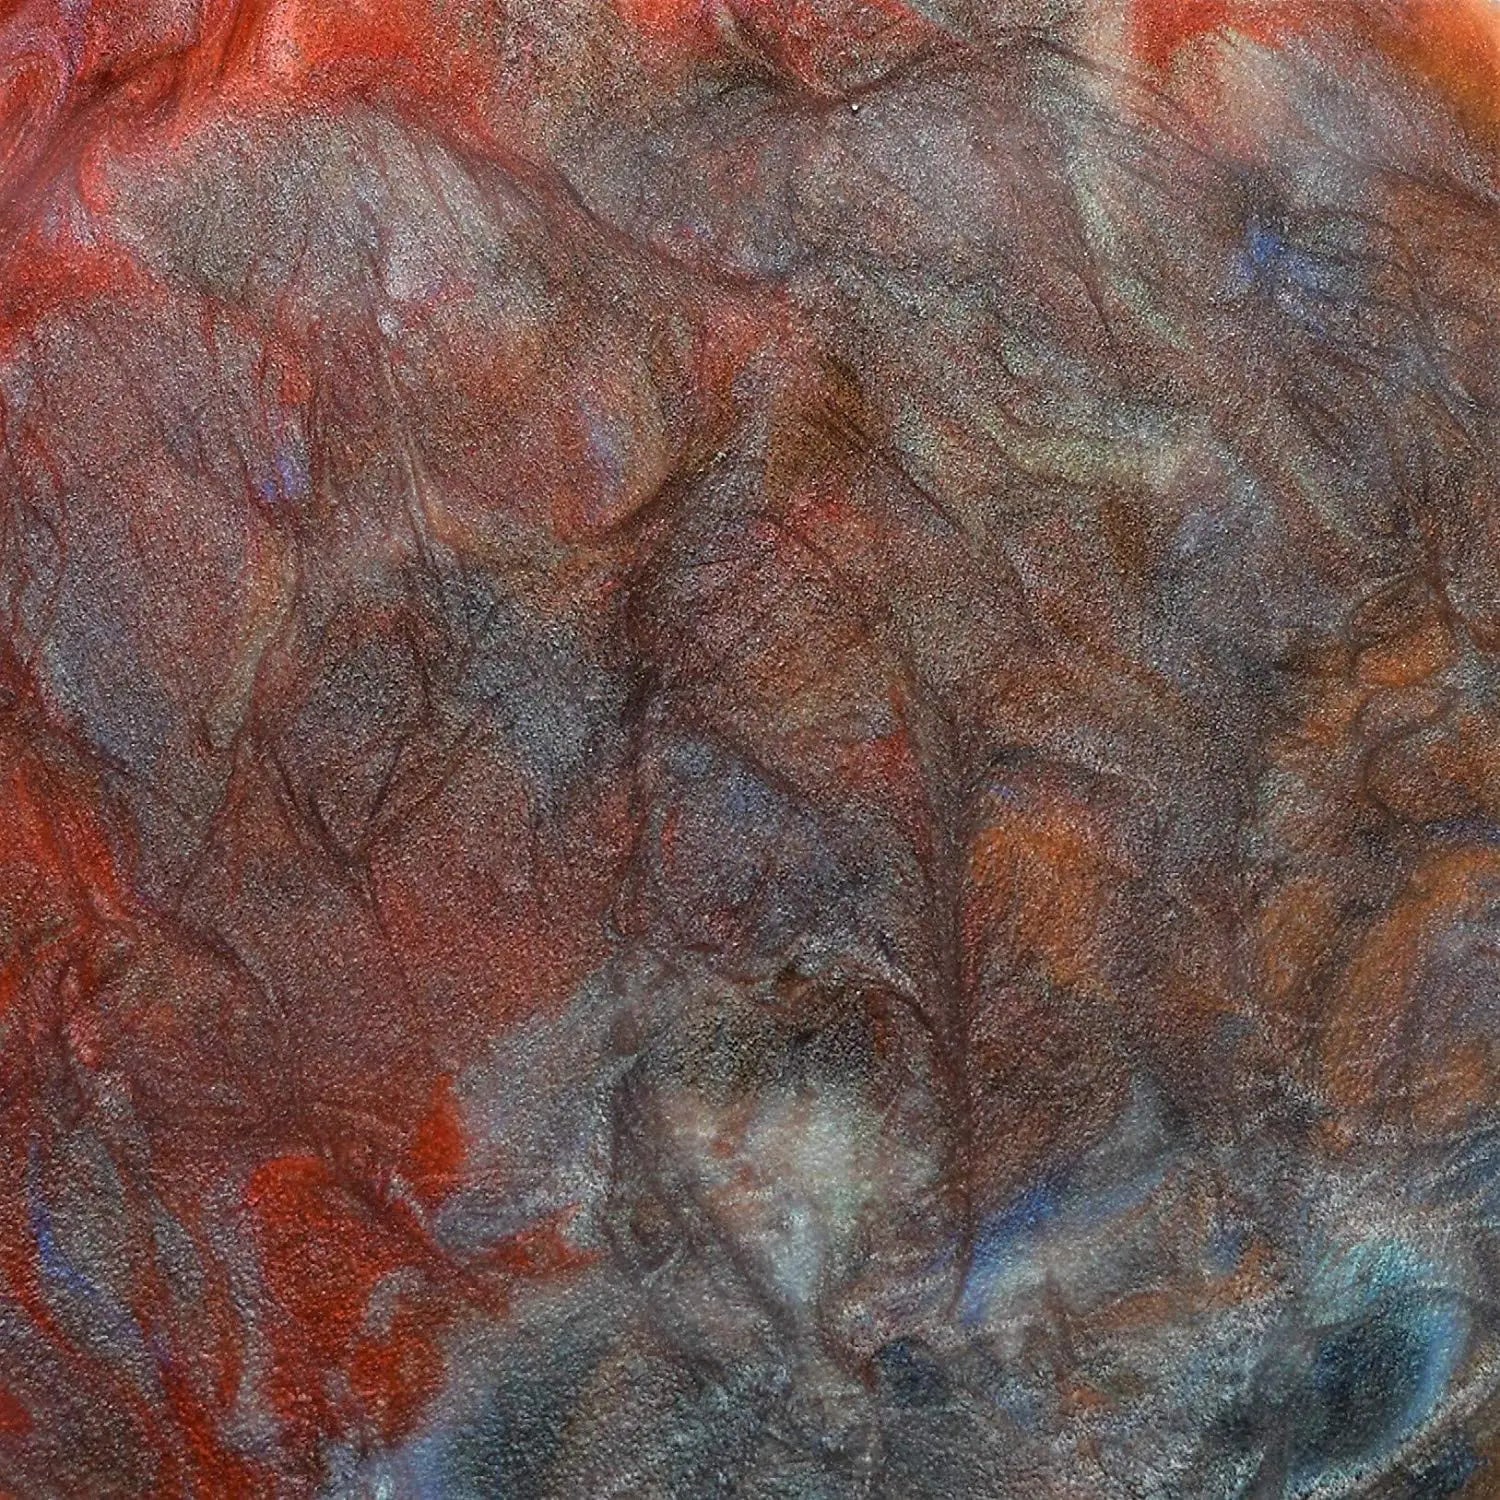
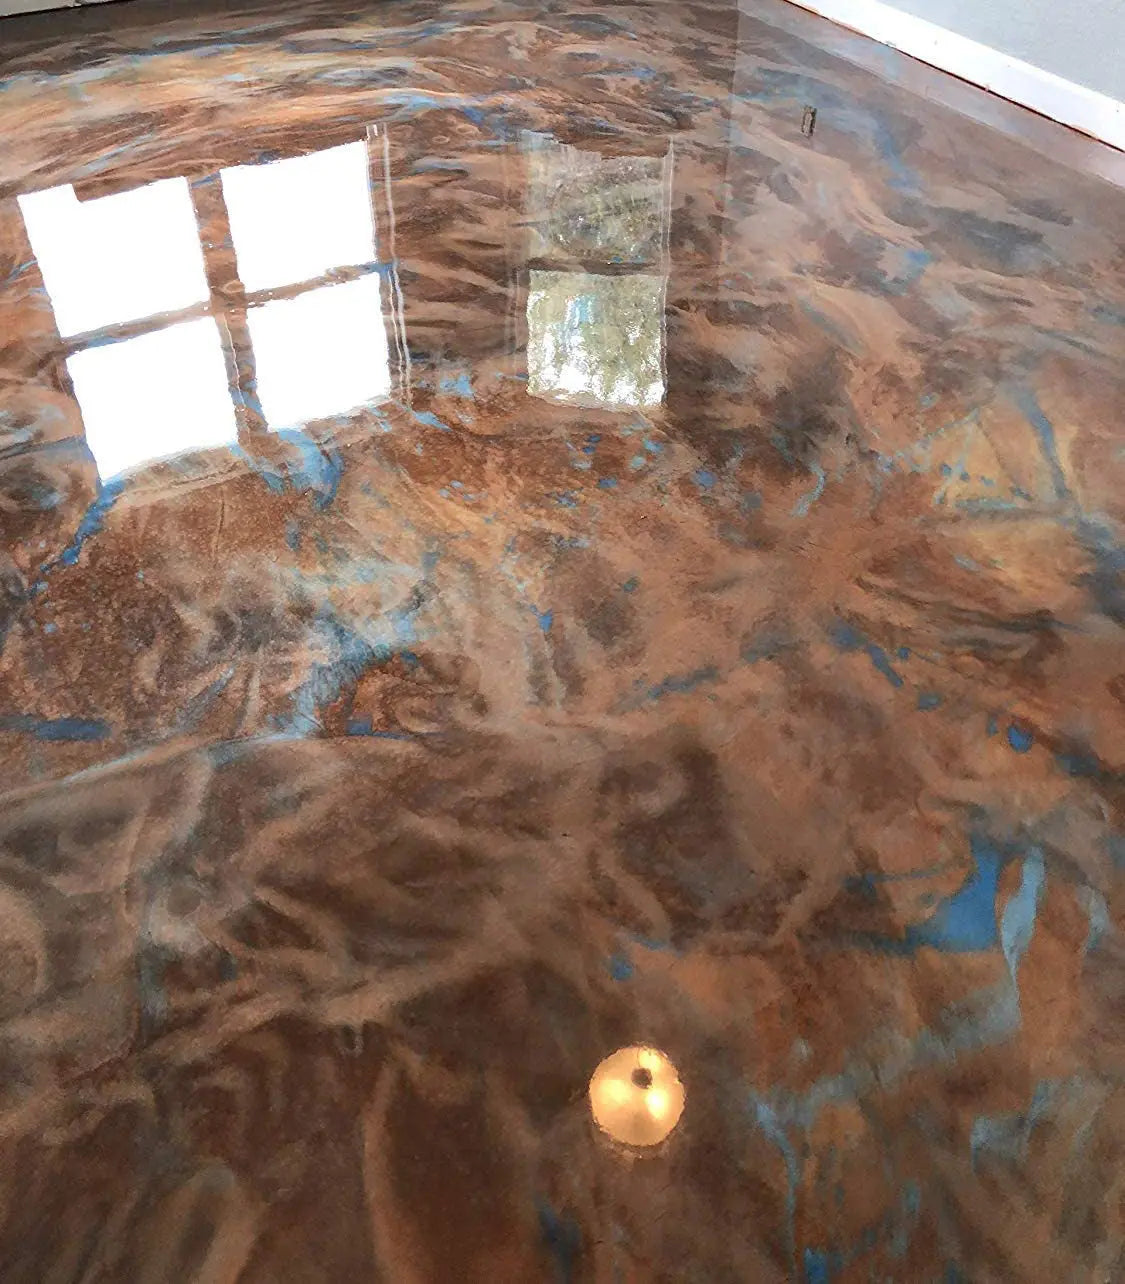
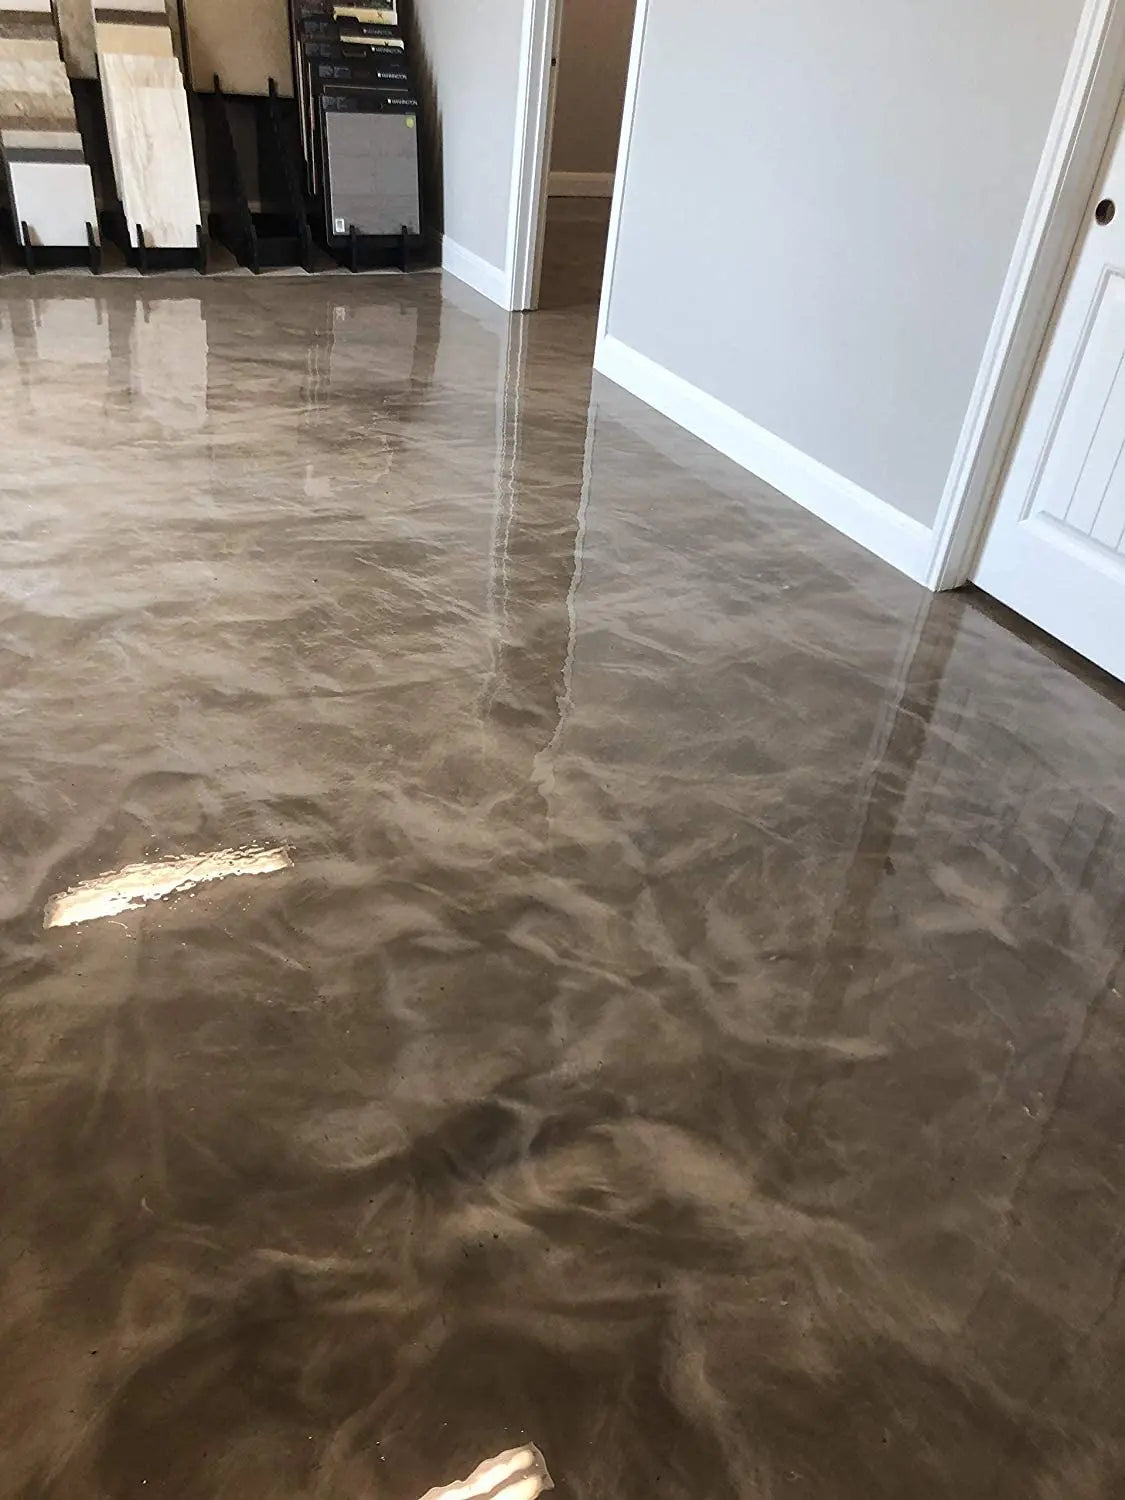
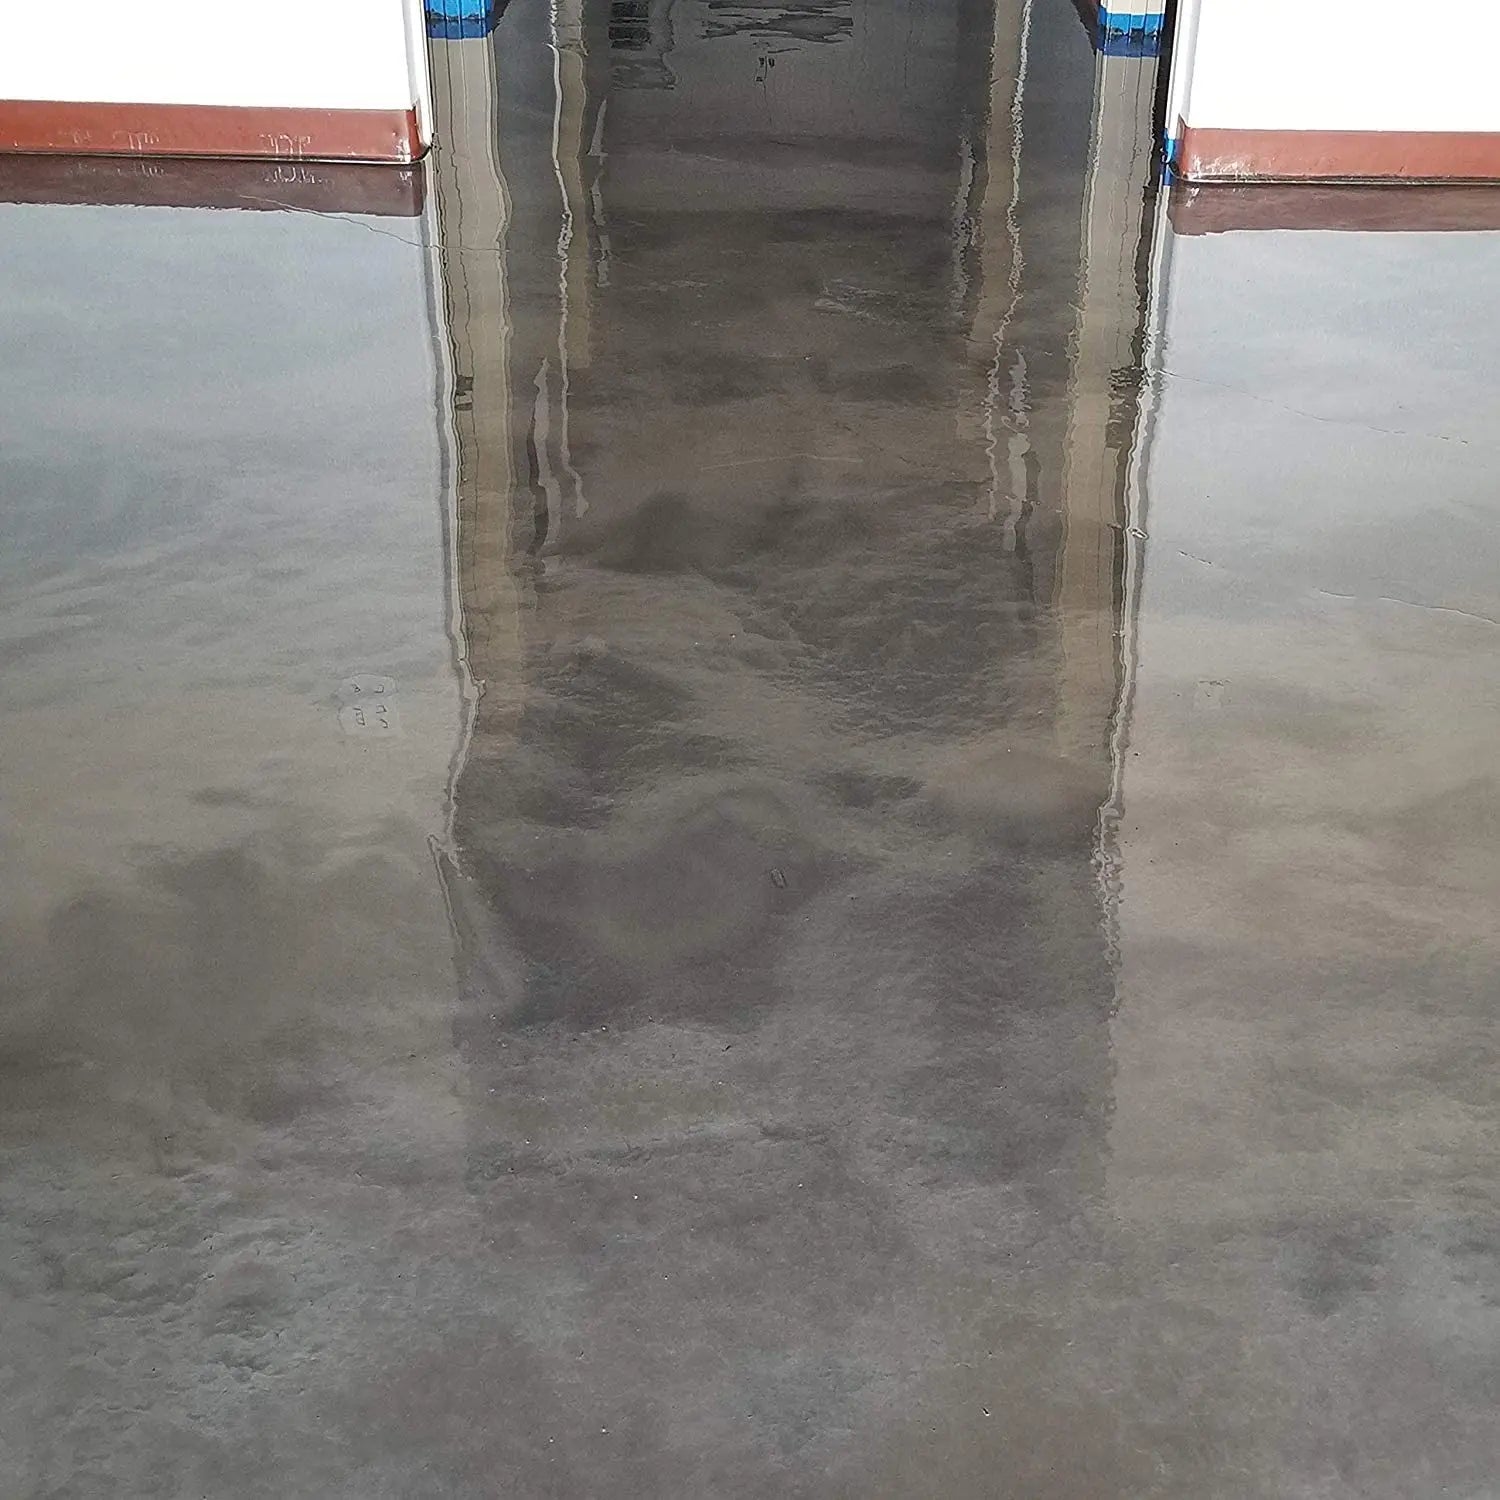
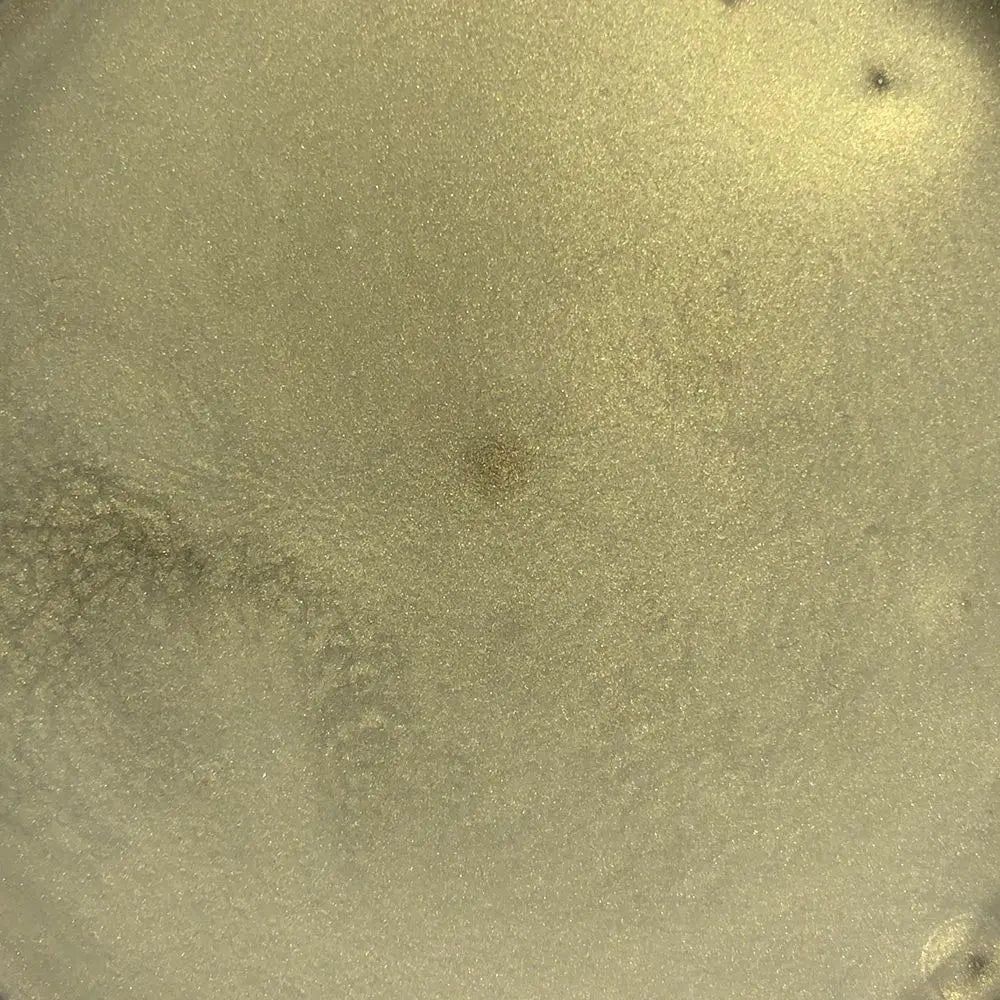
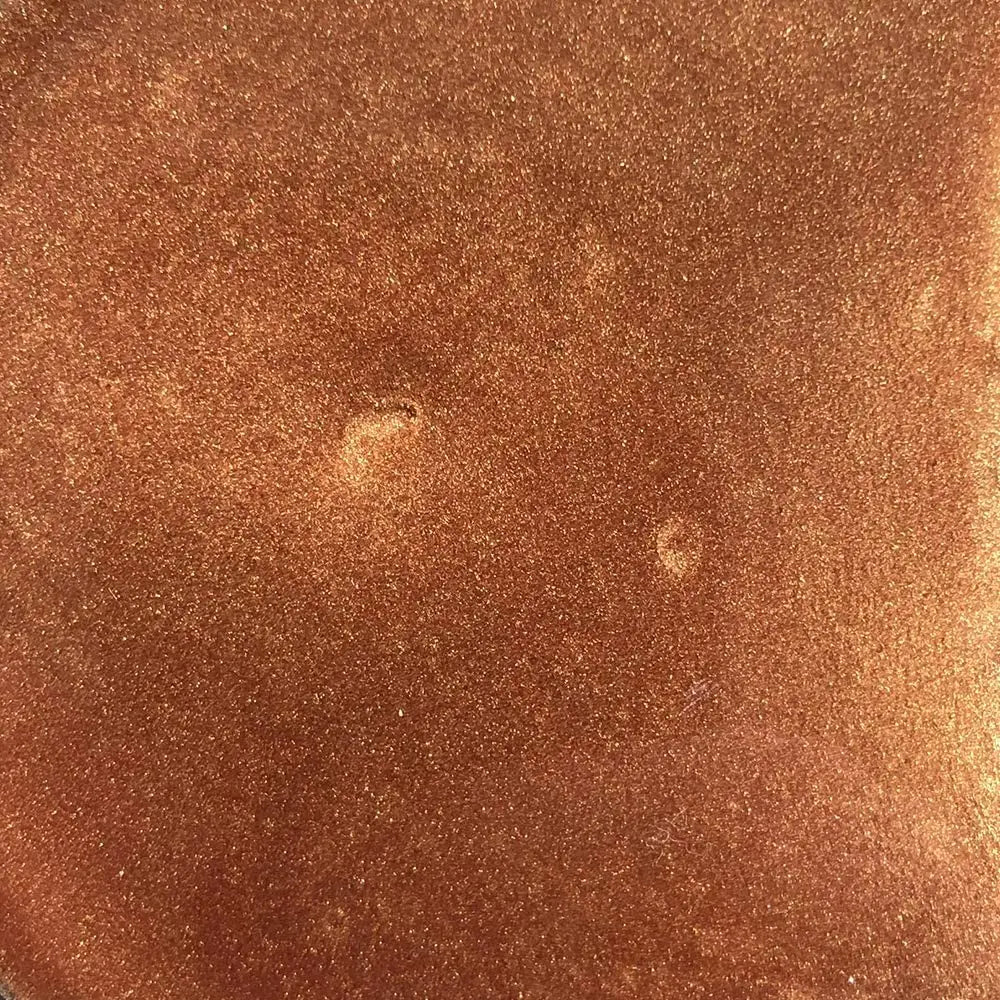
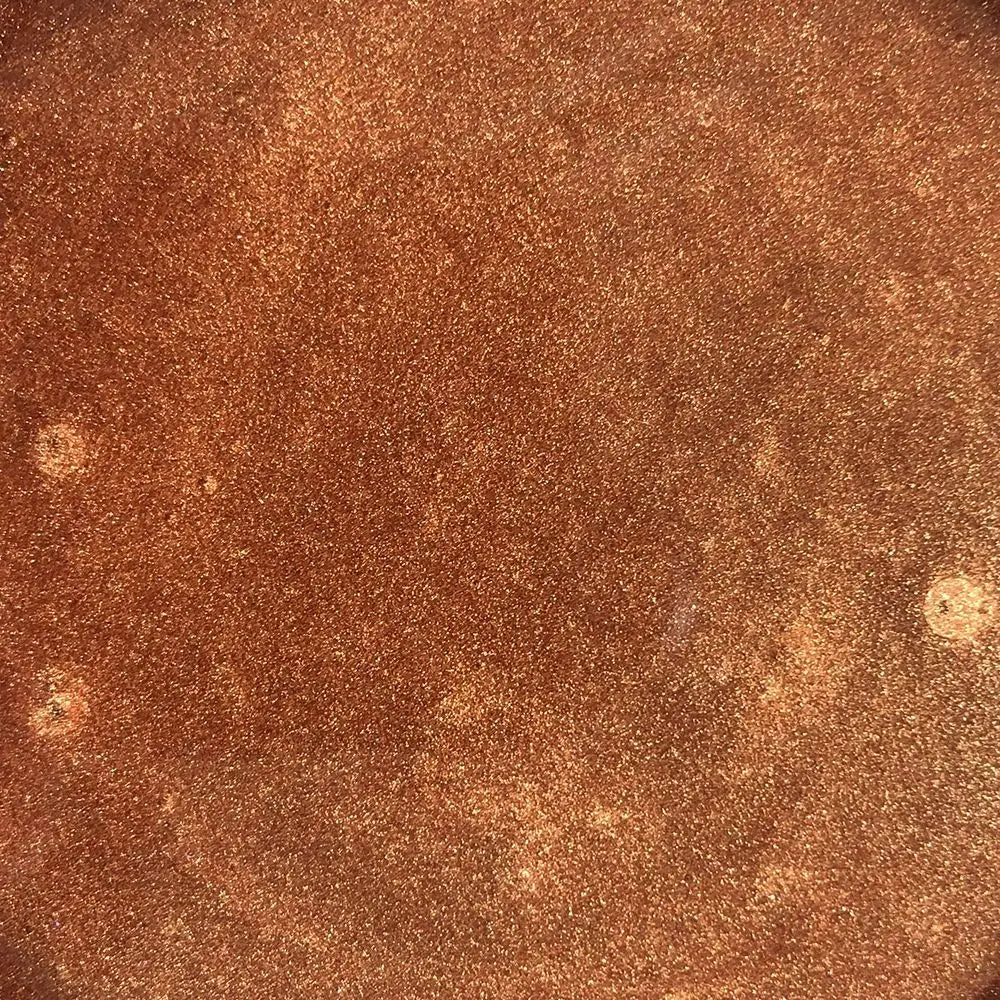
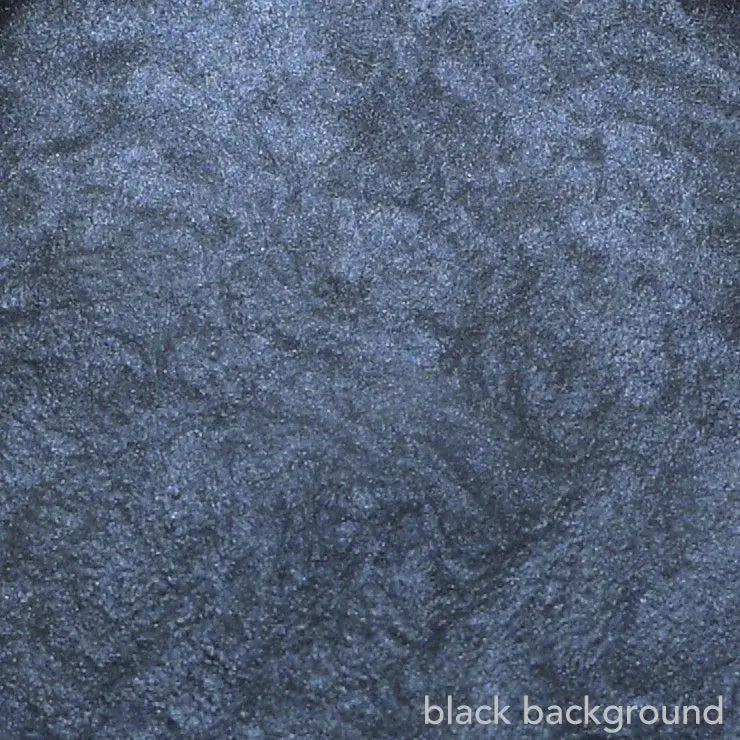
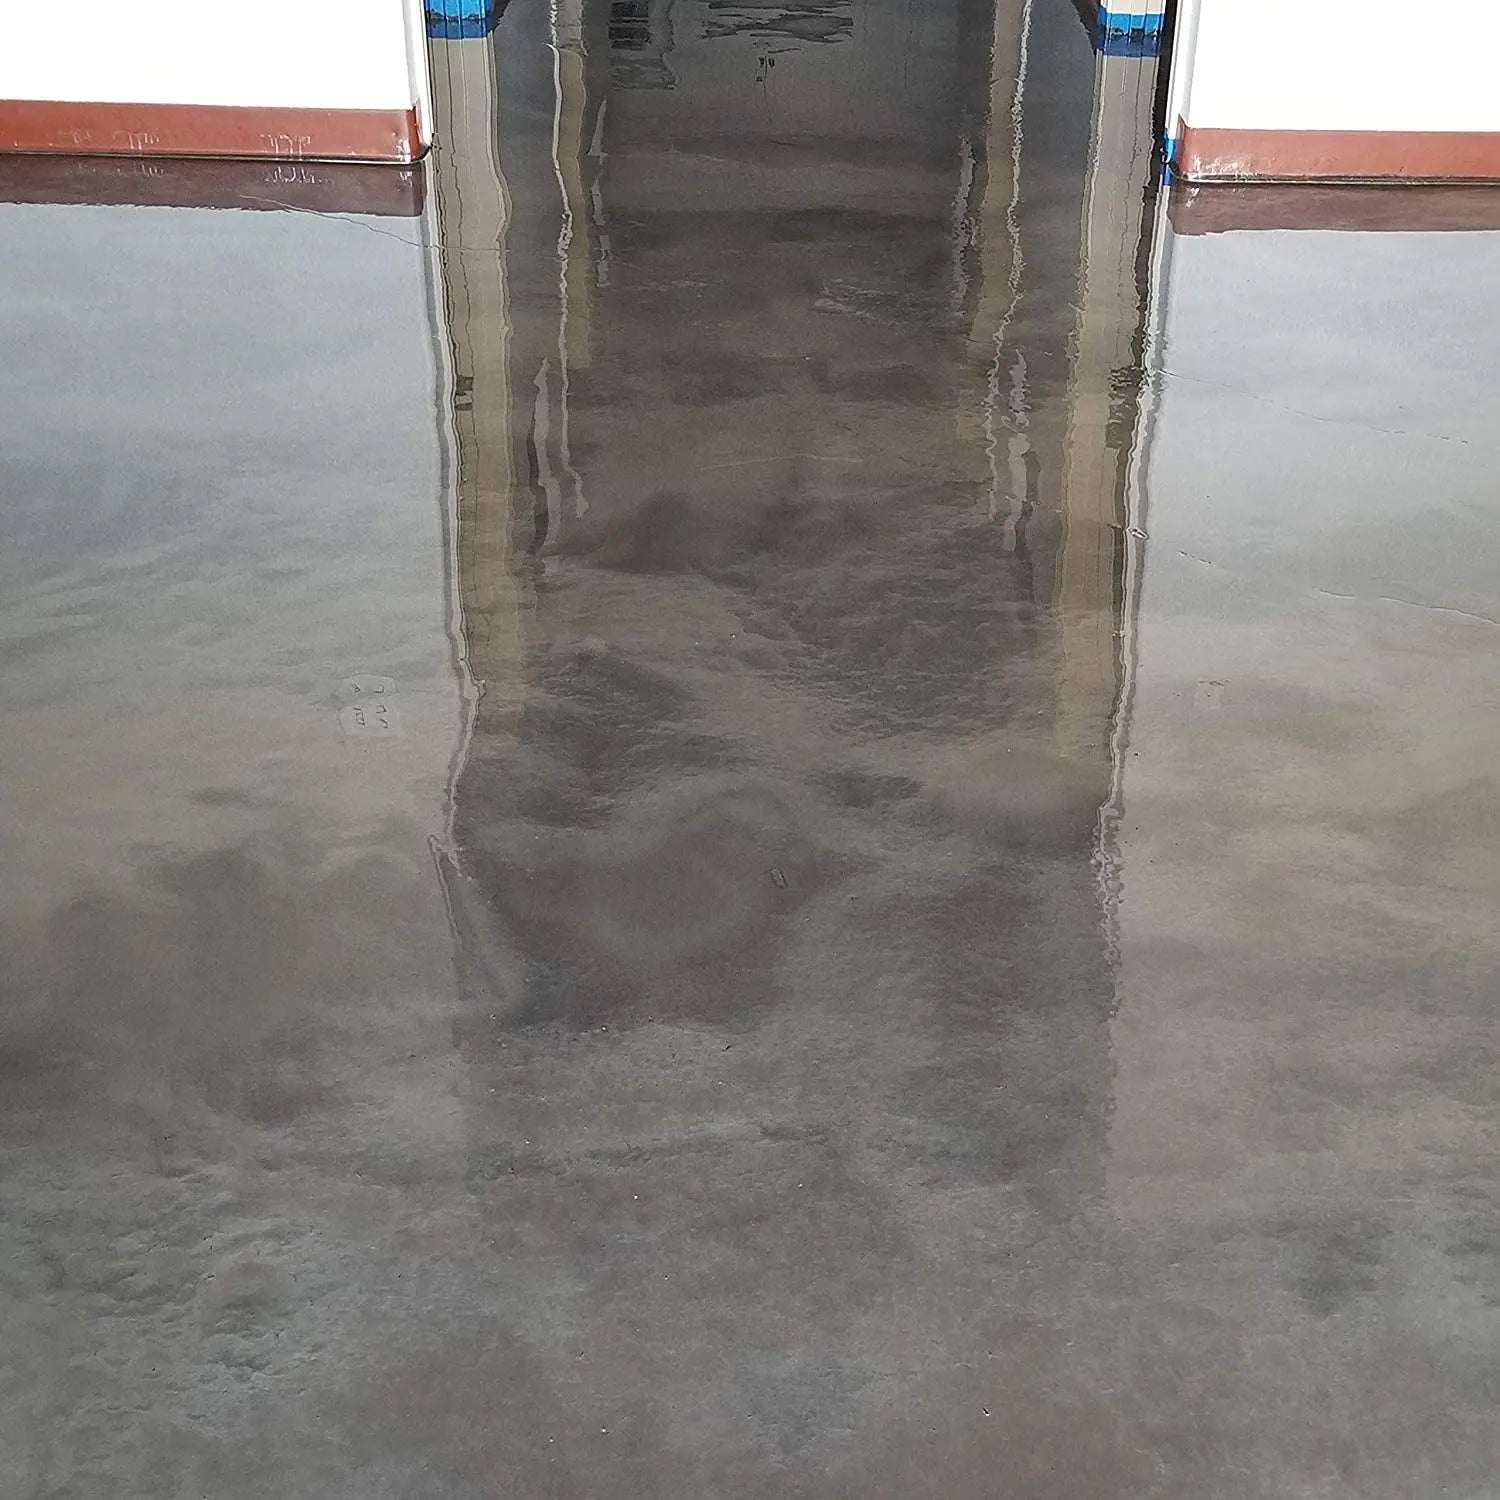
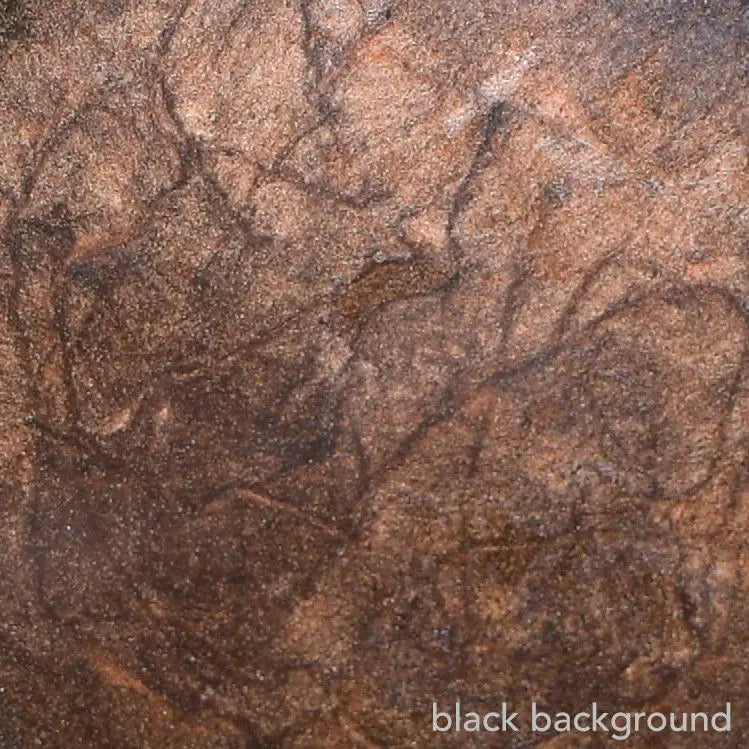
Tru Lustre Metallics are special effect pigments composed of nano mica-particles coated with various pigments to create pearlescent, iridescent, 3-D metallic look that can can be used to create a multitude of special effects on most surfaces. This system typically calls for a dark tinted primer coat, metallic infused 100% solids epoxy, and then a durable top coat such AU 85. When the metallic particles are mixed with a suitable coating they give the coating a shine that reflects light and creates and eye-catching dramatic color. The finished surface is a smooth, almost glass type finish that implies incredible depth with unique reflective qualities. The great thing about metallic is that they can look very different if using a light primer color under them than a dark color as normal. It is a good idea to experiment to see the differences and how you can use them.
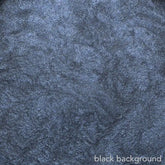
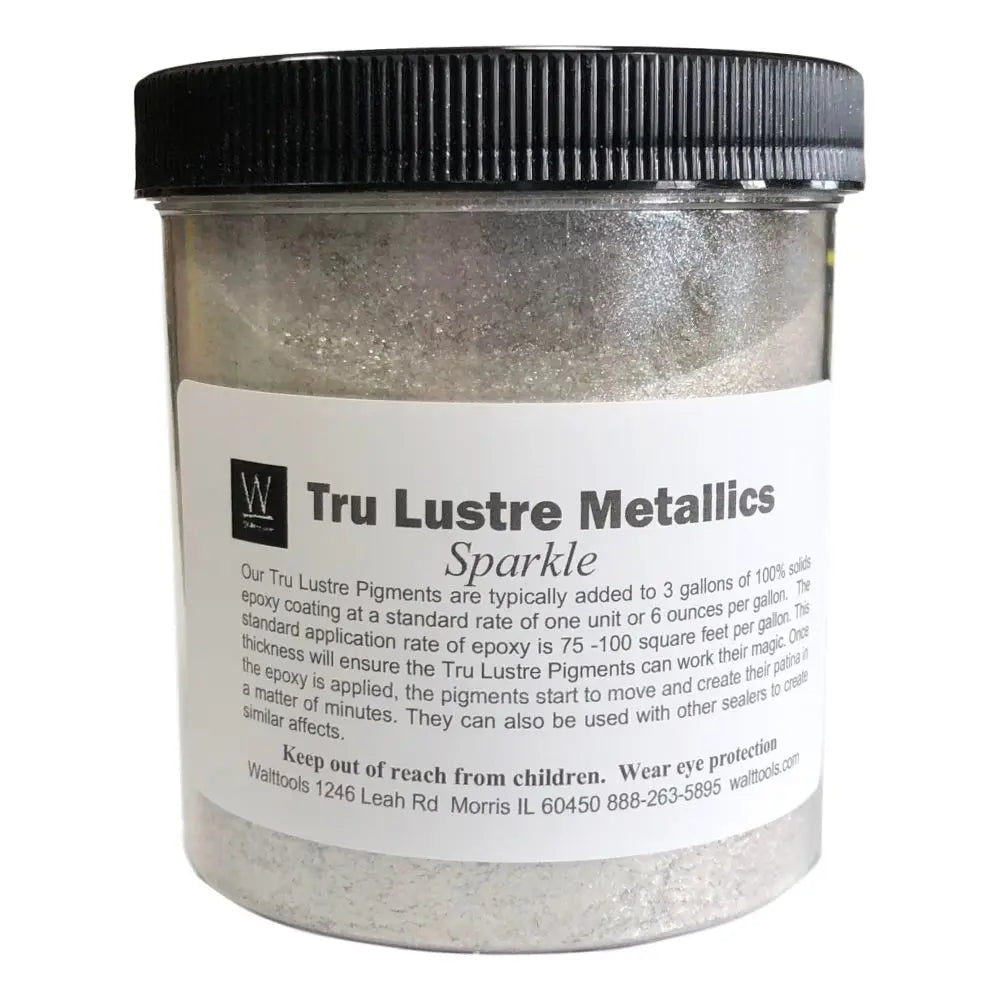
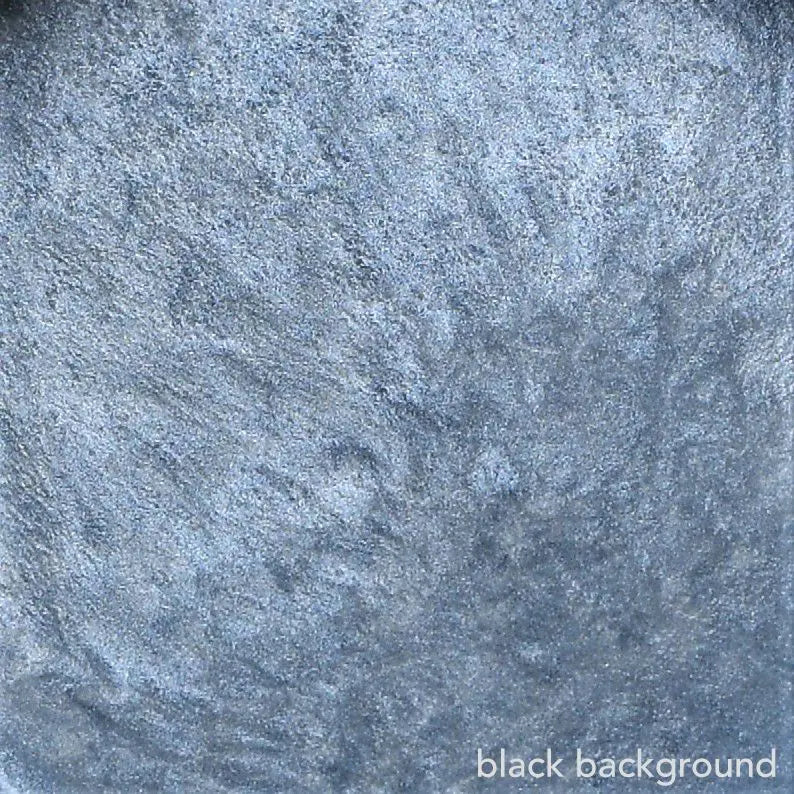
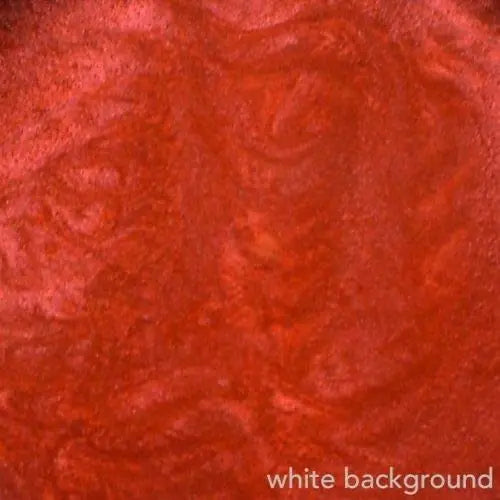
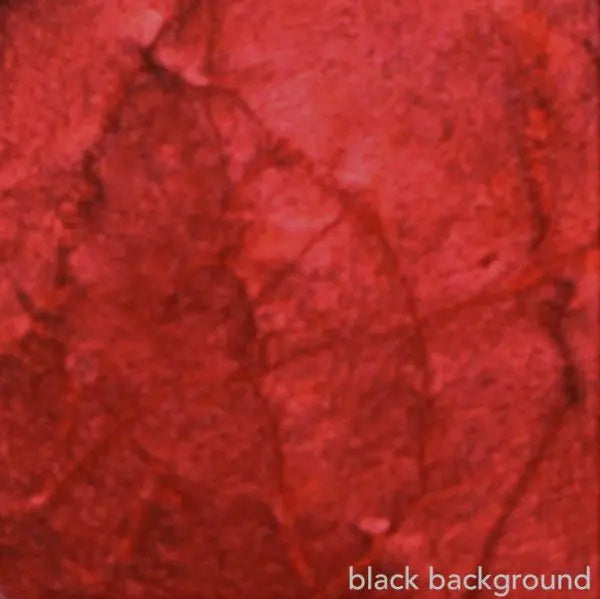
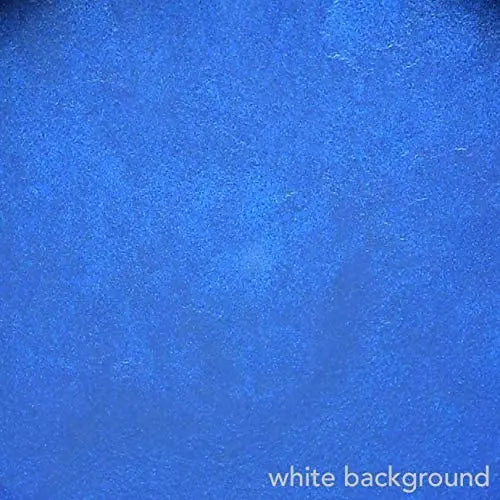
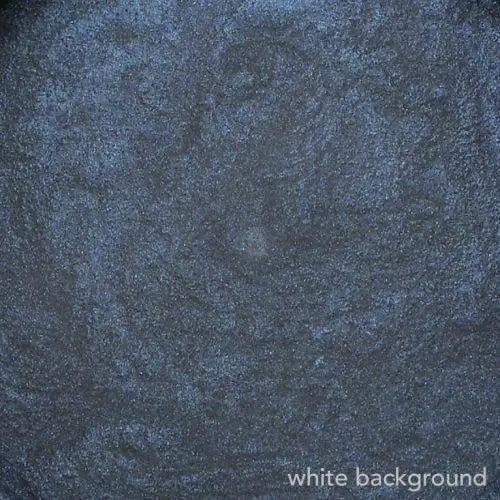
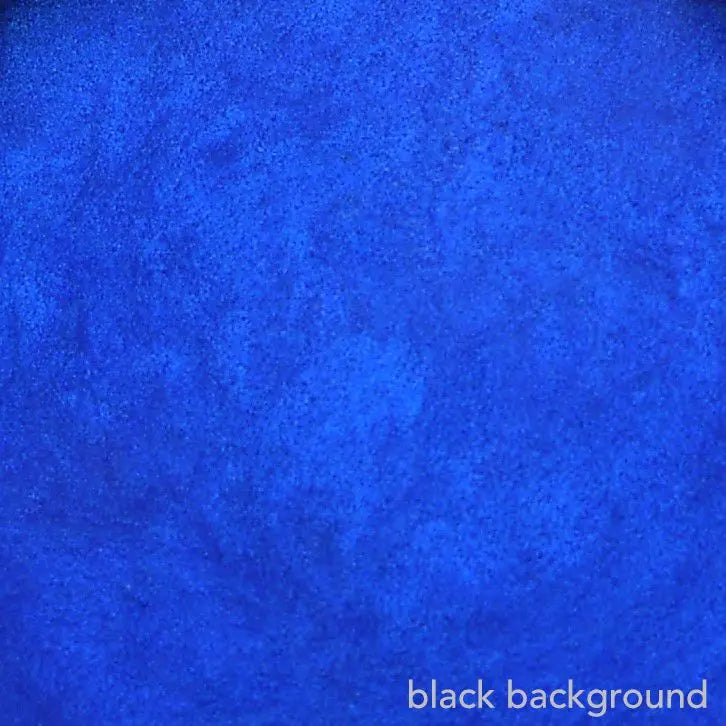
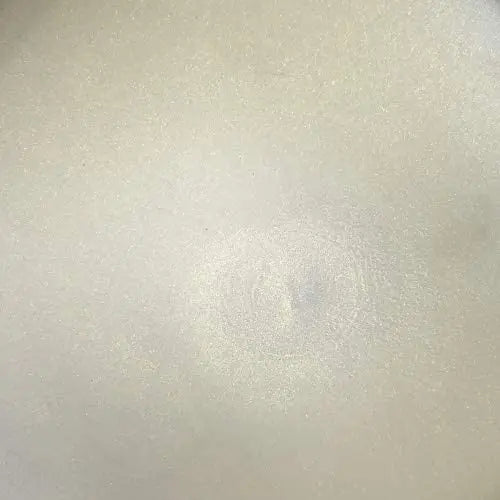
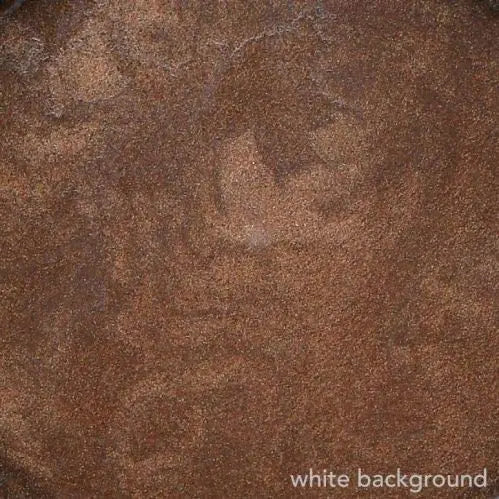
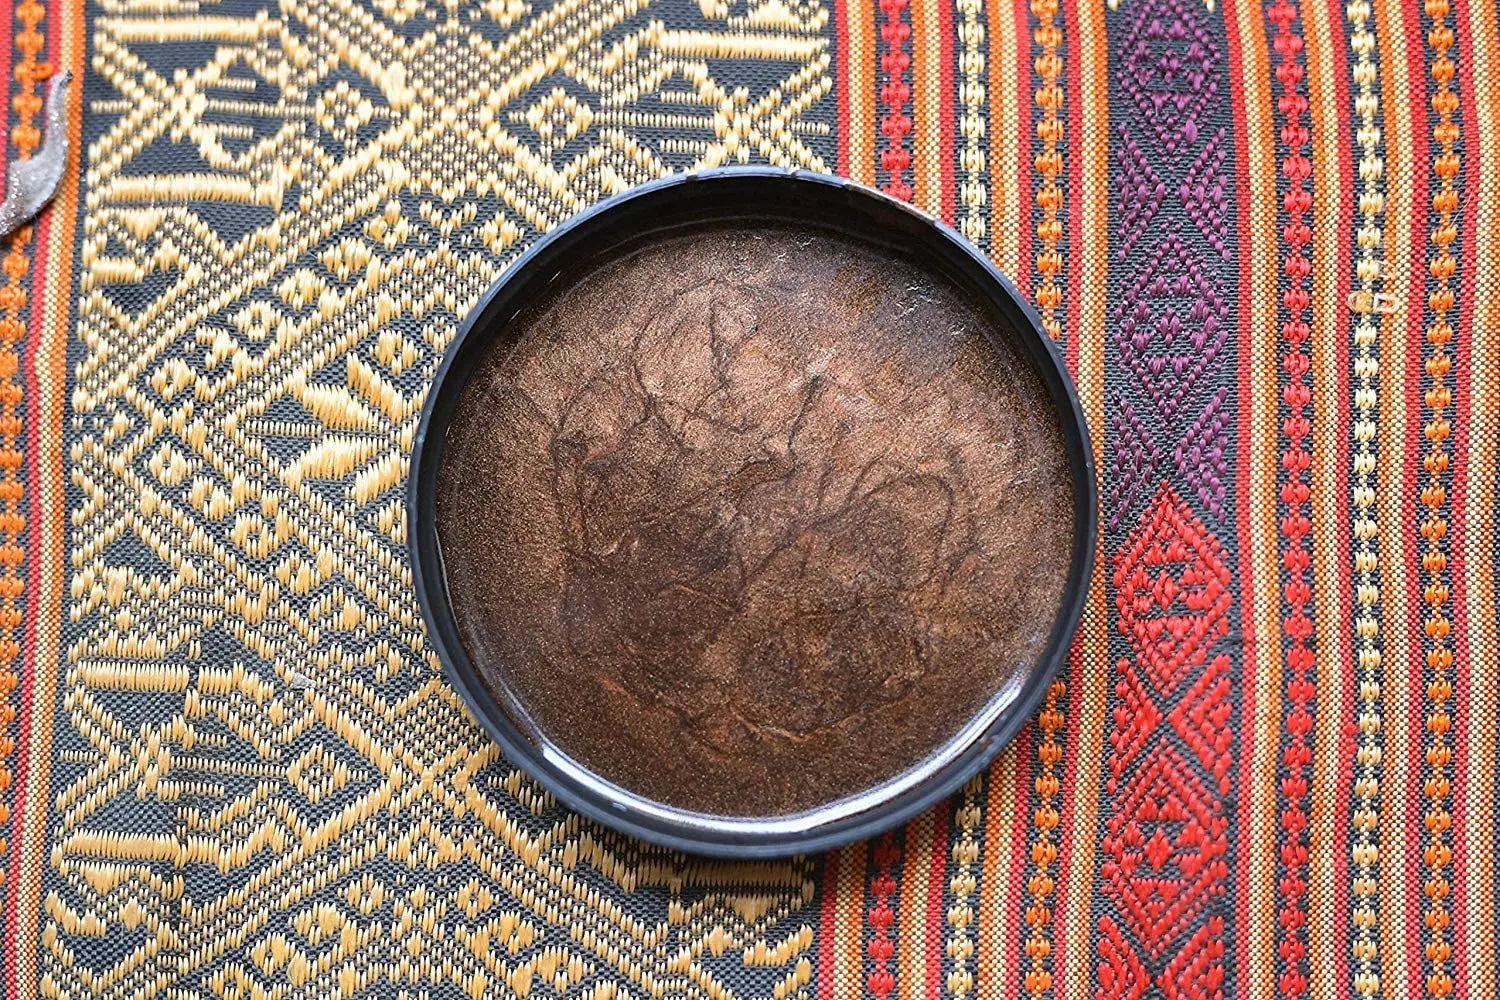
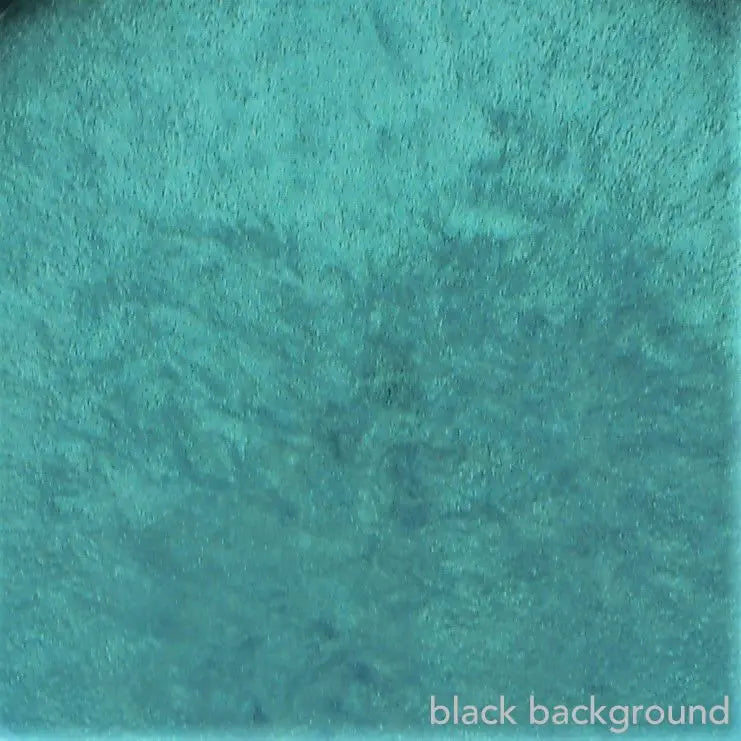
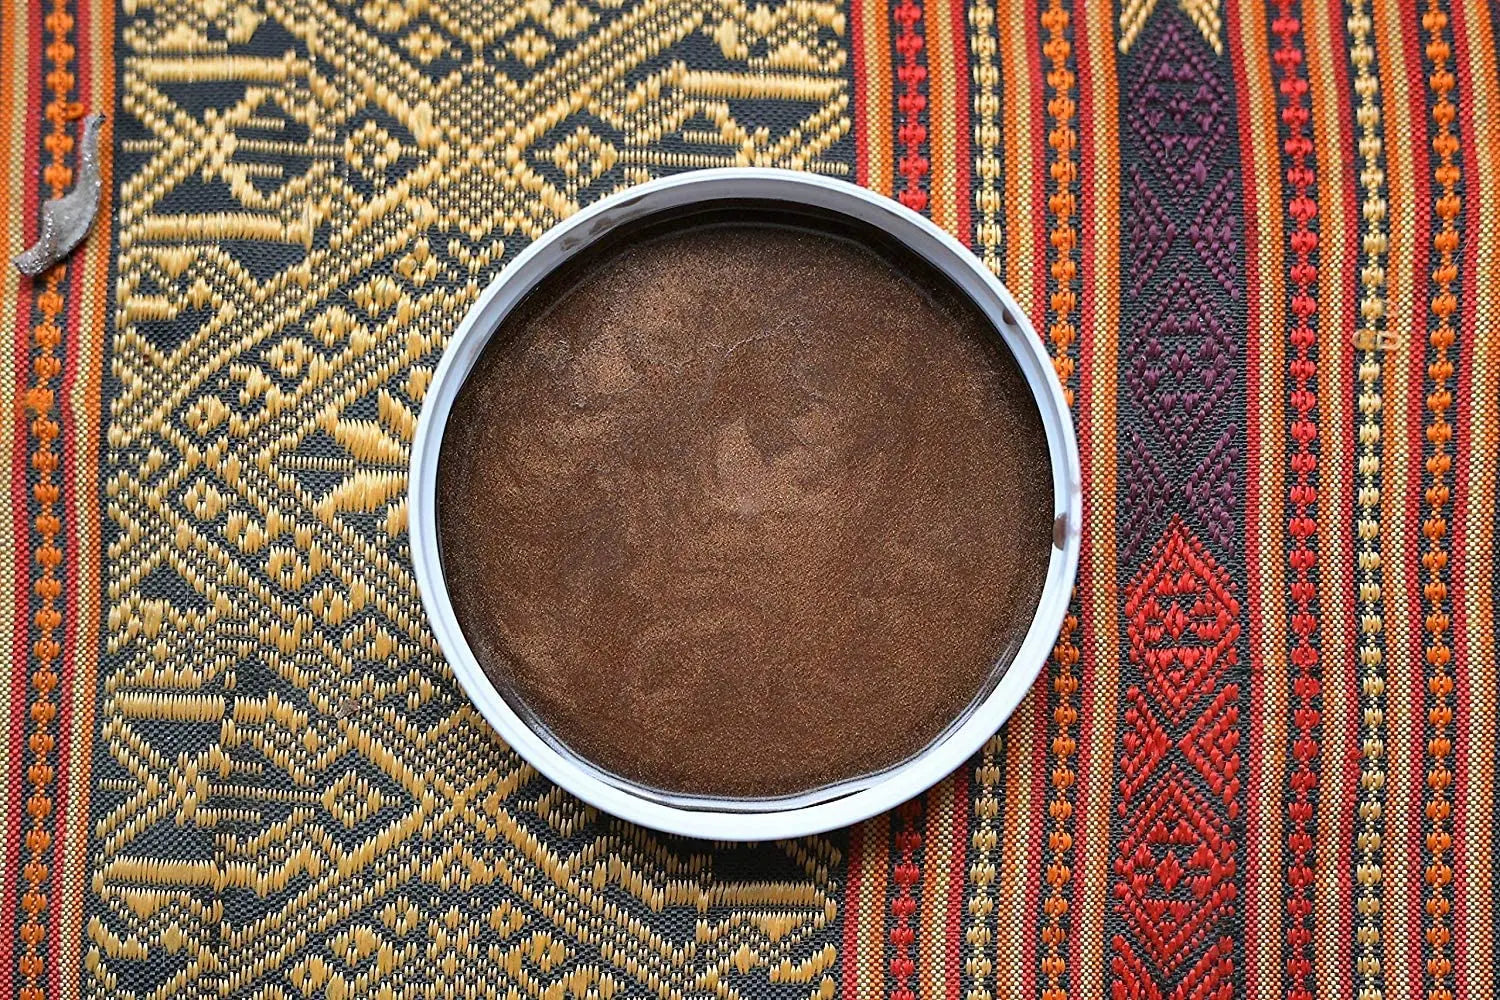
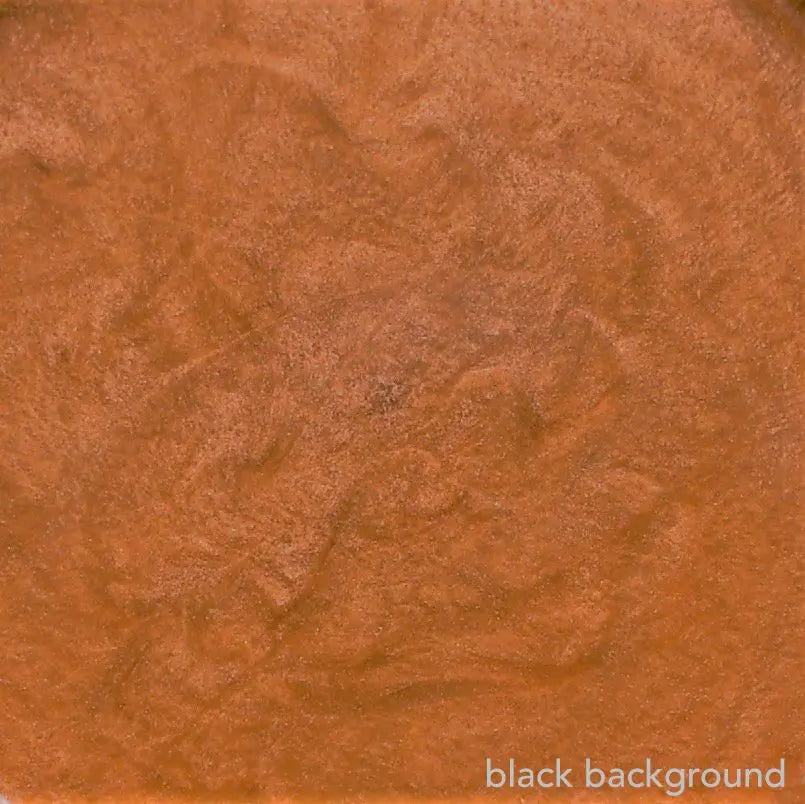
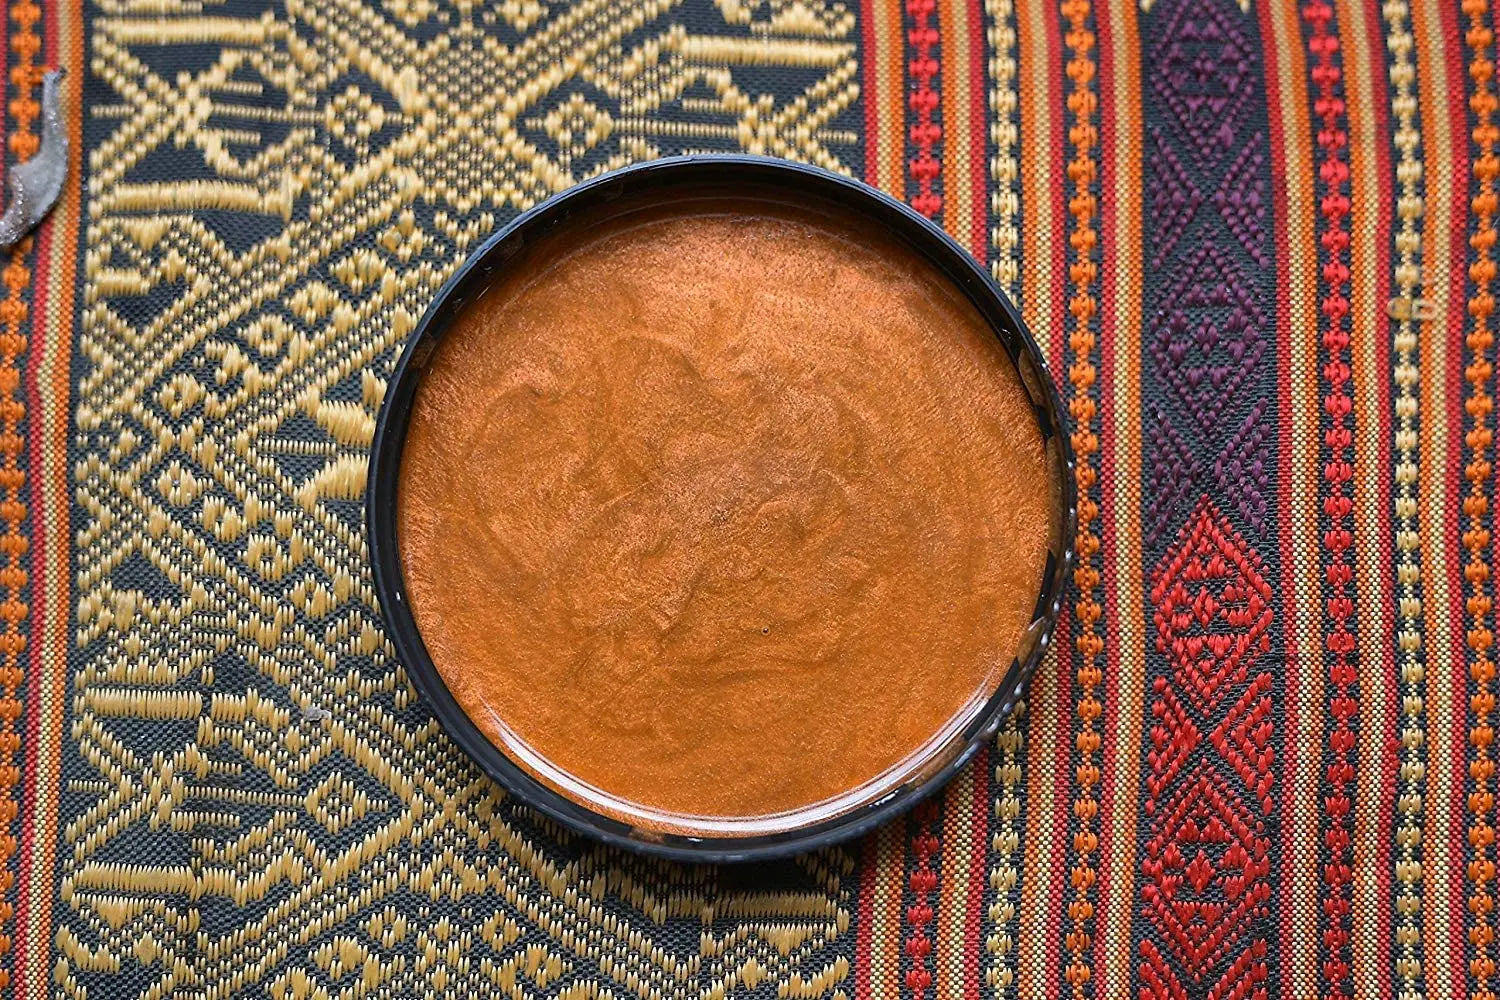
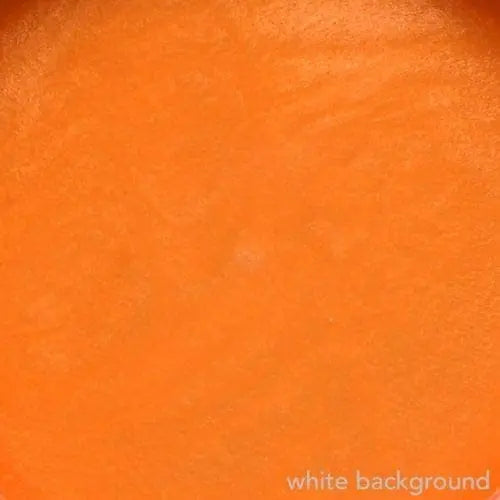
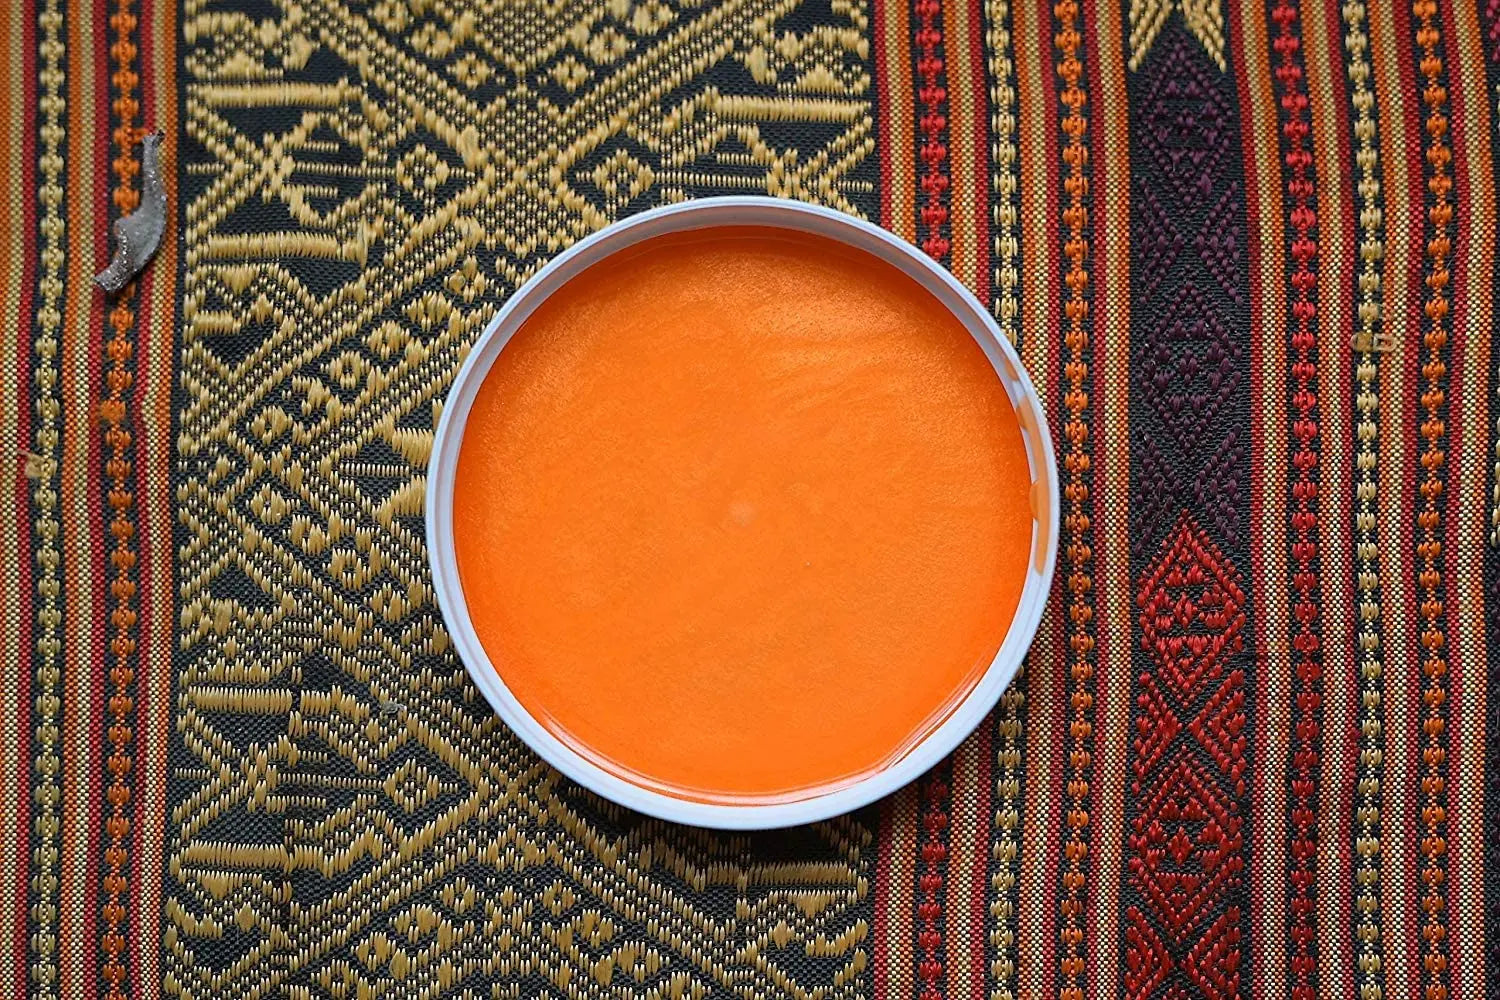
PLEASE NOTE- Some metallic colors show differently on a white base. Black Epoxy Base will work best to make most metallics show their best! Green Shimmer for example looks almost white when applied over a White Epoxy Basecoat. But when applied over a Black Epoxy Basecoat, the Green Shimmer color magically shows up as a beautiful emerald-green color! The 'color' Sparkle isn't really a color, but adds a white element to the epoxy and creates the mica 'sparkle' effect, but the color of the base epoxy will show through well.
- Twice the potency of competitive products
- Easy to add, mix and apply
- Variable measured quantities for desired results
- Completely customizable
- Suitable for many surfaces
- Cost effective
- Low maintenance
Tru Lustre metallic pigments are used on a variety of surfaces such as concrete flooring, concrete counter tops, prepared laminate counter tops.
Real world examples are: Showrooms, Garage floors, Restaurants, Lobbies, Dance floors, Casinos, Churches, Entertainment Centers, Museums, Retail Store Floors, Malls, Big box floors, Basements and Rec rooms. Anywhere that a unique lustrous finish is desired.
Metallics are the most artistic flavor of the decorative concrete world.
Coverage: Tru Lustre Pigments are designed to be typically added to 3 gallons of 100% solids epoxy coating at a standard rate of 2 ounces per gallon. In the case of Epoxy HP, a typical kit is a three gallon kit so 1 unit (6 ounces) of Metallics will be appropriate. The standard application rate of epoxy is 75 -100 square feet per gallon. This thickness will ensure the Tru Lustre Pigments can work their magic. Once the epoxy is applied, the pigments start to move and create their patina in a matter of minutes.
Though epoxy is the most typical coating, the Tru Metal pigments can be used with great results with many other coatings. These include polyaspartics such as Polykoat 85, polyurethanes such as AU 85, as well as solvent AND water based acrylics**.
**Bear in mind that the thickness of the coating greatly determines the density and 3-D affects of the coating. What that means is that a typical acrylic sealer is applied at approx 225-250 sq ft per gallon, so is pretty thin. To get the same density and a typical metallic epoxy application at @ 75 sq ft per gallon of epoxy, you will need three times as much Tru Lustre pigment (6 ounces per gallon) for a similar affect. If the sealer you chose gets a coverage rate of 150 sq ft per gallon, then you will need twice, or 4 ounces of pigment per gallon.
General Instructions for Using Metallic Pigments:

Using metallic pigments in seamless floor resins can lead to very striking results. They really create one-of-a-kind surfaces that wear remarkably well. Using metallic pigments is a multi-step process. Installers will vary the steps depending on the particular situation but in general are as follows. This is for using the pigments on flooring surfaces, but the same general steps can be employed on concrete countertops.
Step 1 – Surface Preparation. This is the most critical step as with most decorative concrete projects. All substrates must be properly prepared. They must be clean and free from any contaminates that may inhibit the adhesion of the resins. Concrete must be cured for a minimum of 30 days and be free of any internal moisture. Slab should be profiled to a minimum CSP-2 to CSP-3 via shot blasting or grinding. All cracks and defects should be repaired and profiled to match the main surface. Have the room between 60 and 75 degrees if possible.
Step 2 – Primer. Apply a primer/base coat of 100% solids epoxy Essential Primer*. This is typically colored with a black (or very dark) tint base. Using a lighter primer base can result in much lighter colors. It is good to experiment with both dark and light primers. This is done because the black surface allows the metallic pigments to show their colors most vividly when placed on top in the next step. Note: If prepared floor is extremely porous or shows much surface defect, you should consider applying a pure primer coat before your initial black base coat. This will ensure maximum adhesion to the prepared substrate and will help to seal air in the concrete to prevent out-gassing in the finished surface. These defects can be very visible on a metallic type floor. Mix separately both A and B parts of the resins material to ensure no separation has occurred. Make sure material has been brought to room temperature as well. For application, mix 2 parts A with 1 part B by volume with a low speed mixer for three minutes. Mix only an amount of material that can be spread in 30 minutes. Once mixed, immediately begin pouring the material onto the floor in long, usable ribbons. Do not let mixed material sit in the mixing container longer than 5 minutes or it may begin to gel and need to be thrown out. Spread the material with a notched squeegee (1/8 inch at most) until all is even and then backroll with a proper roller to remove any squeegee lines. For a primer coat, you want coverage of approximately 200-300 sq ft per gallon. Use a brush to get into all the edges if needed. Let sit for 6 to 24 hrs before proceeding to the next step. Walk on floor only using spiked sandals.
*If the floor is in good shape or you did a standalone primer coat before the black base coat, you may opt to use the PolyKoat 85 for the black base coat. It goes down thin and will cure much quicker than the epoxy primer.
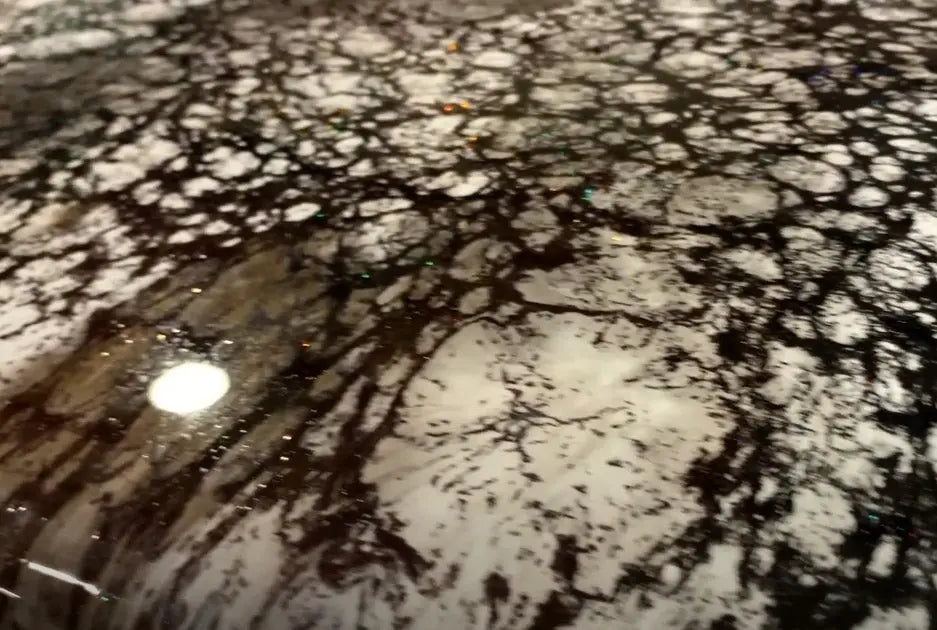
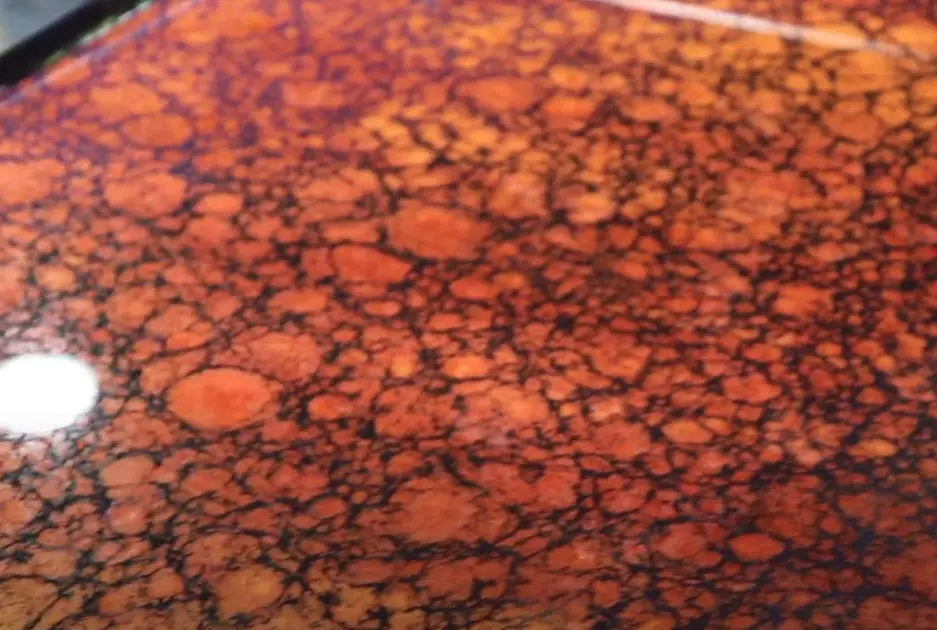
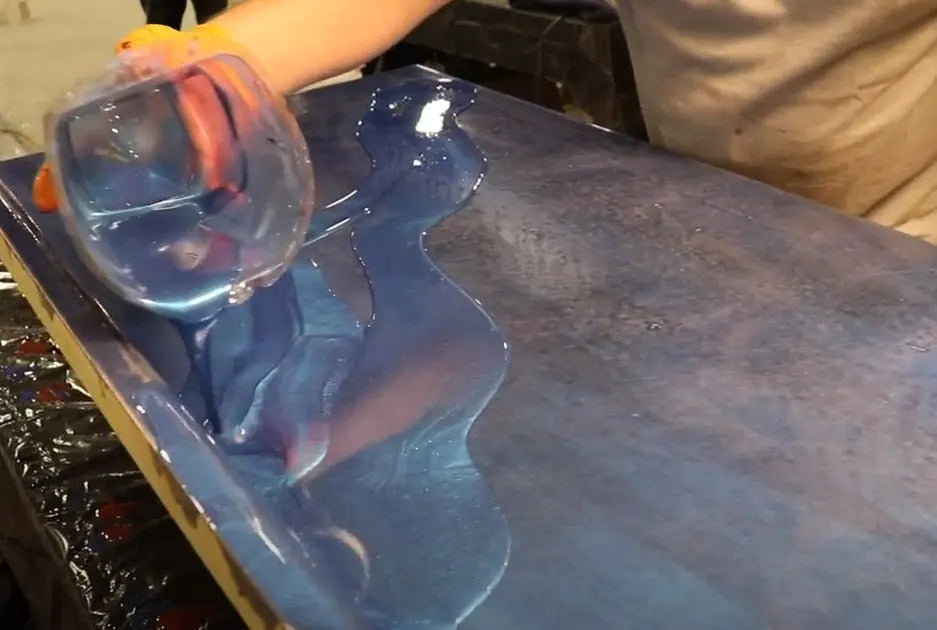
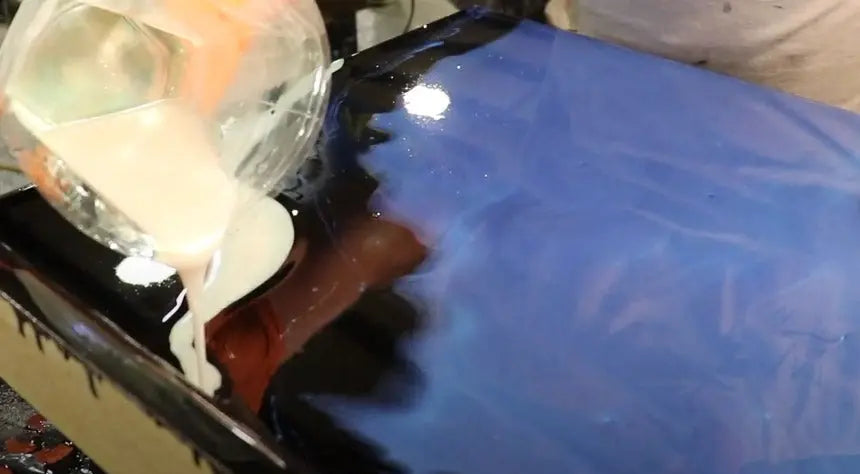
 Step 3 – Metallic Coat. With a razor blade floor scraper, carefully glide over the floor to remove any debris, threads or pollutants which are sitting on the top surface. They become very visible in these floors. Now mix both your part A and part B of the EPOXY HP separately to ensure no separation has occurred. Add your Tru FX Metallic pigment powder into the part A side and mix slowly for two minutes. Then add in your part B and mix for three minutes. As you mix, look out for balls or pockets of colors and mix until they are broken up and gone. When finished it should be very uniform. Immediately begin pouring the material onto the floor in long usable ribbons. Do not let mixed material sit in the mixing container longer than 5 minutes or it may begin to gel and need to be thrown out. Using a 3/16” notched squeegee spread the material evenly until proper thickness. This size squeegee notch will ensure a deep rich pigment layer. Using a 3/8 nap roller, backroll gently to remove any squeegee marks. After the material has sat and leveled for about 10 minutes you should see a sheet of glass. At this point you can begin to manipulate the metallic epoxy to create affects. If you want to add another color, you can do so anytime. The later you wait (up till 30 min) the more stark and separate the colors will be. If you combine two right away, they will be mostly blended together. Another common trick at the 15 min mark is to mist denatured alcohol on the surface. It will change the density of the material and create almost a hammered effect. The larger the drops, the more cratering you will see. Let sit overnight. 8-16 hrs.
Step 4 – Topcoat. Next is to apply a topcoat of protective topcoat usually and aliphatic urethane like AU 85 or a polyaspartic like PolyKoat 85. Mix your separate A and B components as in other steps. Then, combine the amount that is needed and mix slowly for three minutes. This can then be rolled on with a 3/8 inch nap roller at a rate of 200-300 sq ft per gallon.
Floor can be walked on in 24 hrs. Avoid any heavy furniture for 3-7 days.


